This week I saw a beautiful purple sweet potato at the grocery store, and I instantly knew I had to have it. I’d been thinking about making potato rolls for a few weeks, and seeing this purple sweet potato affirmed that it was meant to be. I found a food mill at a garage sale a few weeks ago and have been looking for an excuse to try it out.
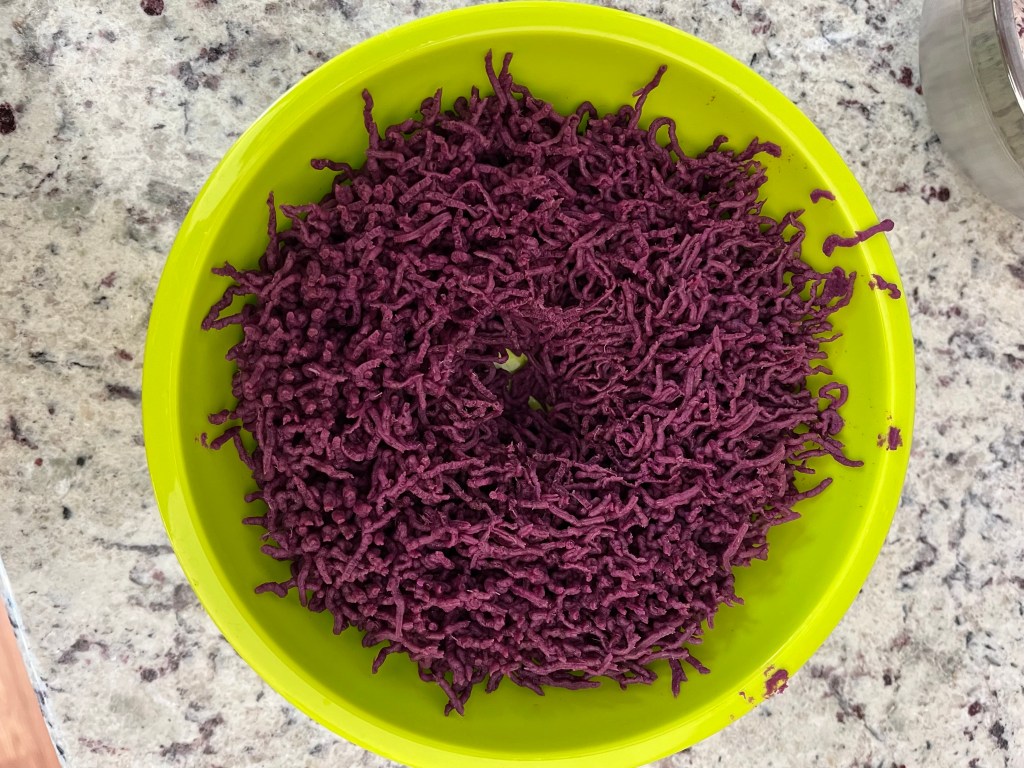
First thing the next day, after I bought my purple sweet potato, I fed my sourdough starter to maintain 100% hydration and produce 100g of usable starter with a little excess starter leftover to grow for future recipes. I also baked my purple sweet potato. For one thing, I knew I didn’t want it to be hot when I used it in the recipe, but also I was just so excited that I didn’t want to wait. So I baked the potato like I normally would, let the potato cool completely, removed the skin, and put it through the food mill. I guess the food mill would have removed the skin itself, but it was easy enough to do since it was already pulling away from the soft potato inside, so I just did it myself. The riced purple sweet potato was so beautiful! It also looked suspiciously like raw ground beef… but other than that, it’s a work of art. This was covered and set aside.
About 10 hours later my starter looked puffy and airy and had at least doubled in size. It was also convex on top, which signaled to me that it was maybe 30 mins away from being at its peak. This is the perfect time for it to be used.

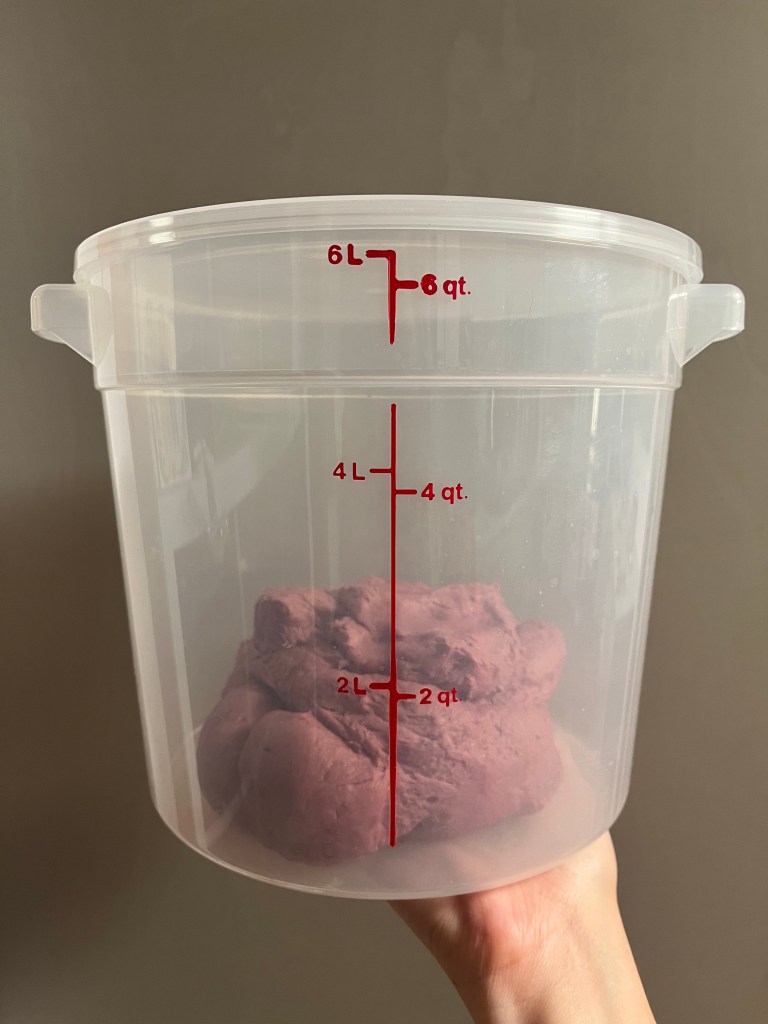
Having my starter ready to go, it was time to mix the dough. I started by mixing the flour, water, sweet potato, and sourdough starter in my KitchenAid, although mixing by hand would work fine. The dough immediately turned a beautiful purple color, which was exactly what I wanted. Once these were well combined, I added in the salt, egg, and sugar and turned the mixer on low speed. When these things were mixed in, after a minute or so, I started cutting my butter into small chunks and adding them in one at a time over a few minutes. When all of the butter had been added and mixed in, I continued to mix for 6 minutes until the dough was soft and smooth and no longer sticky. Then I transferred it to a tub to bulk ferment overnight on the counter.
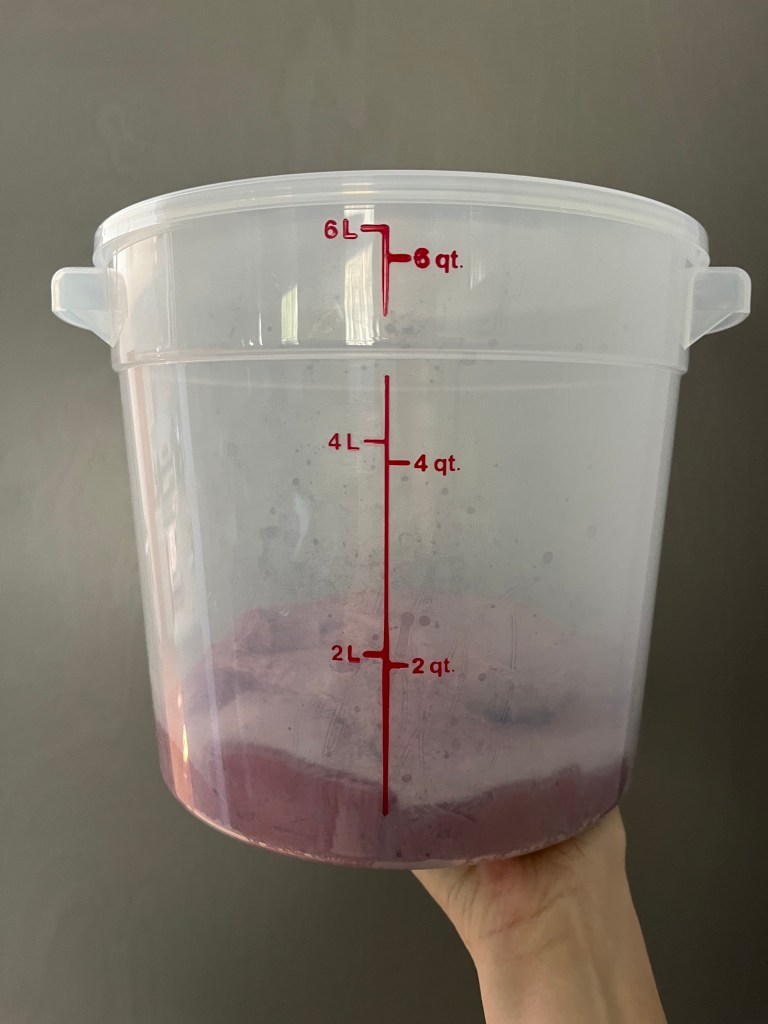
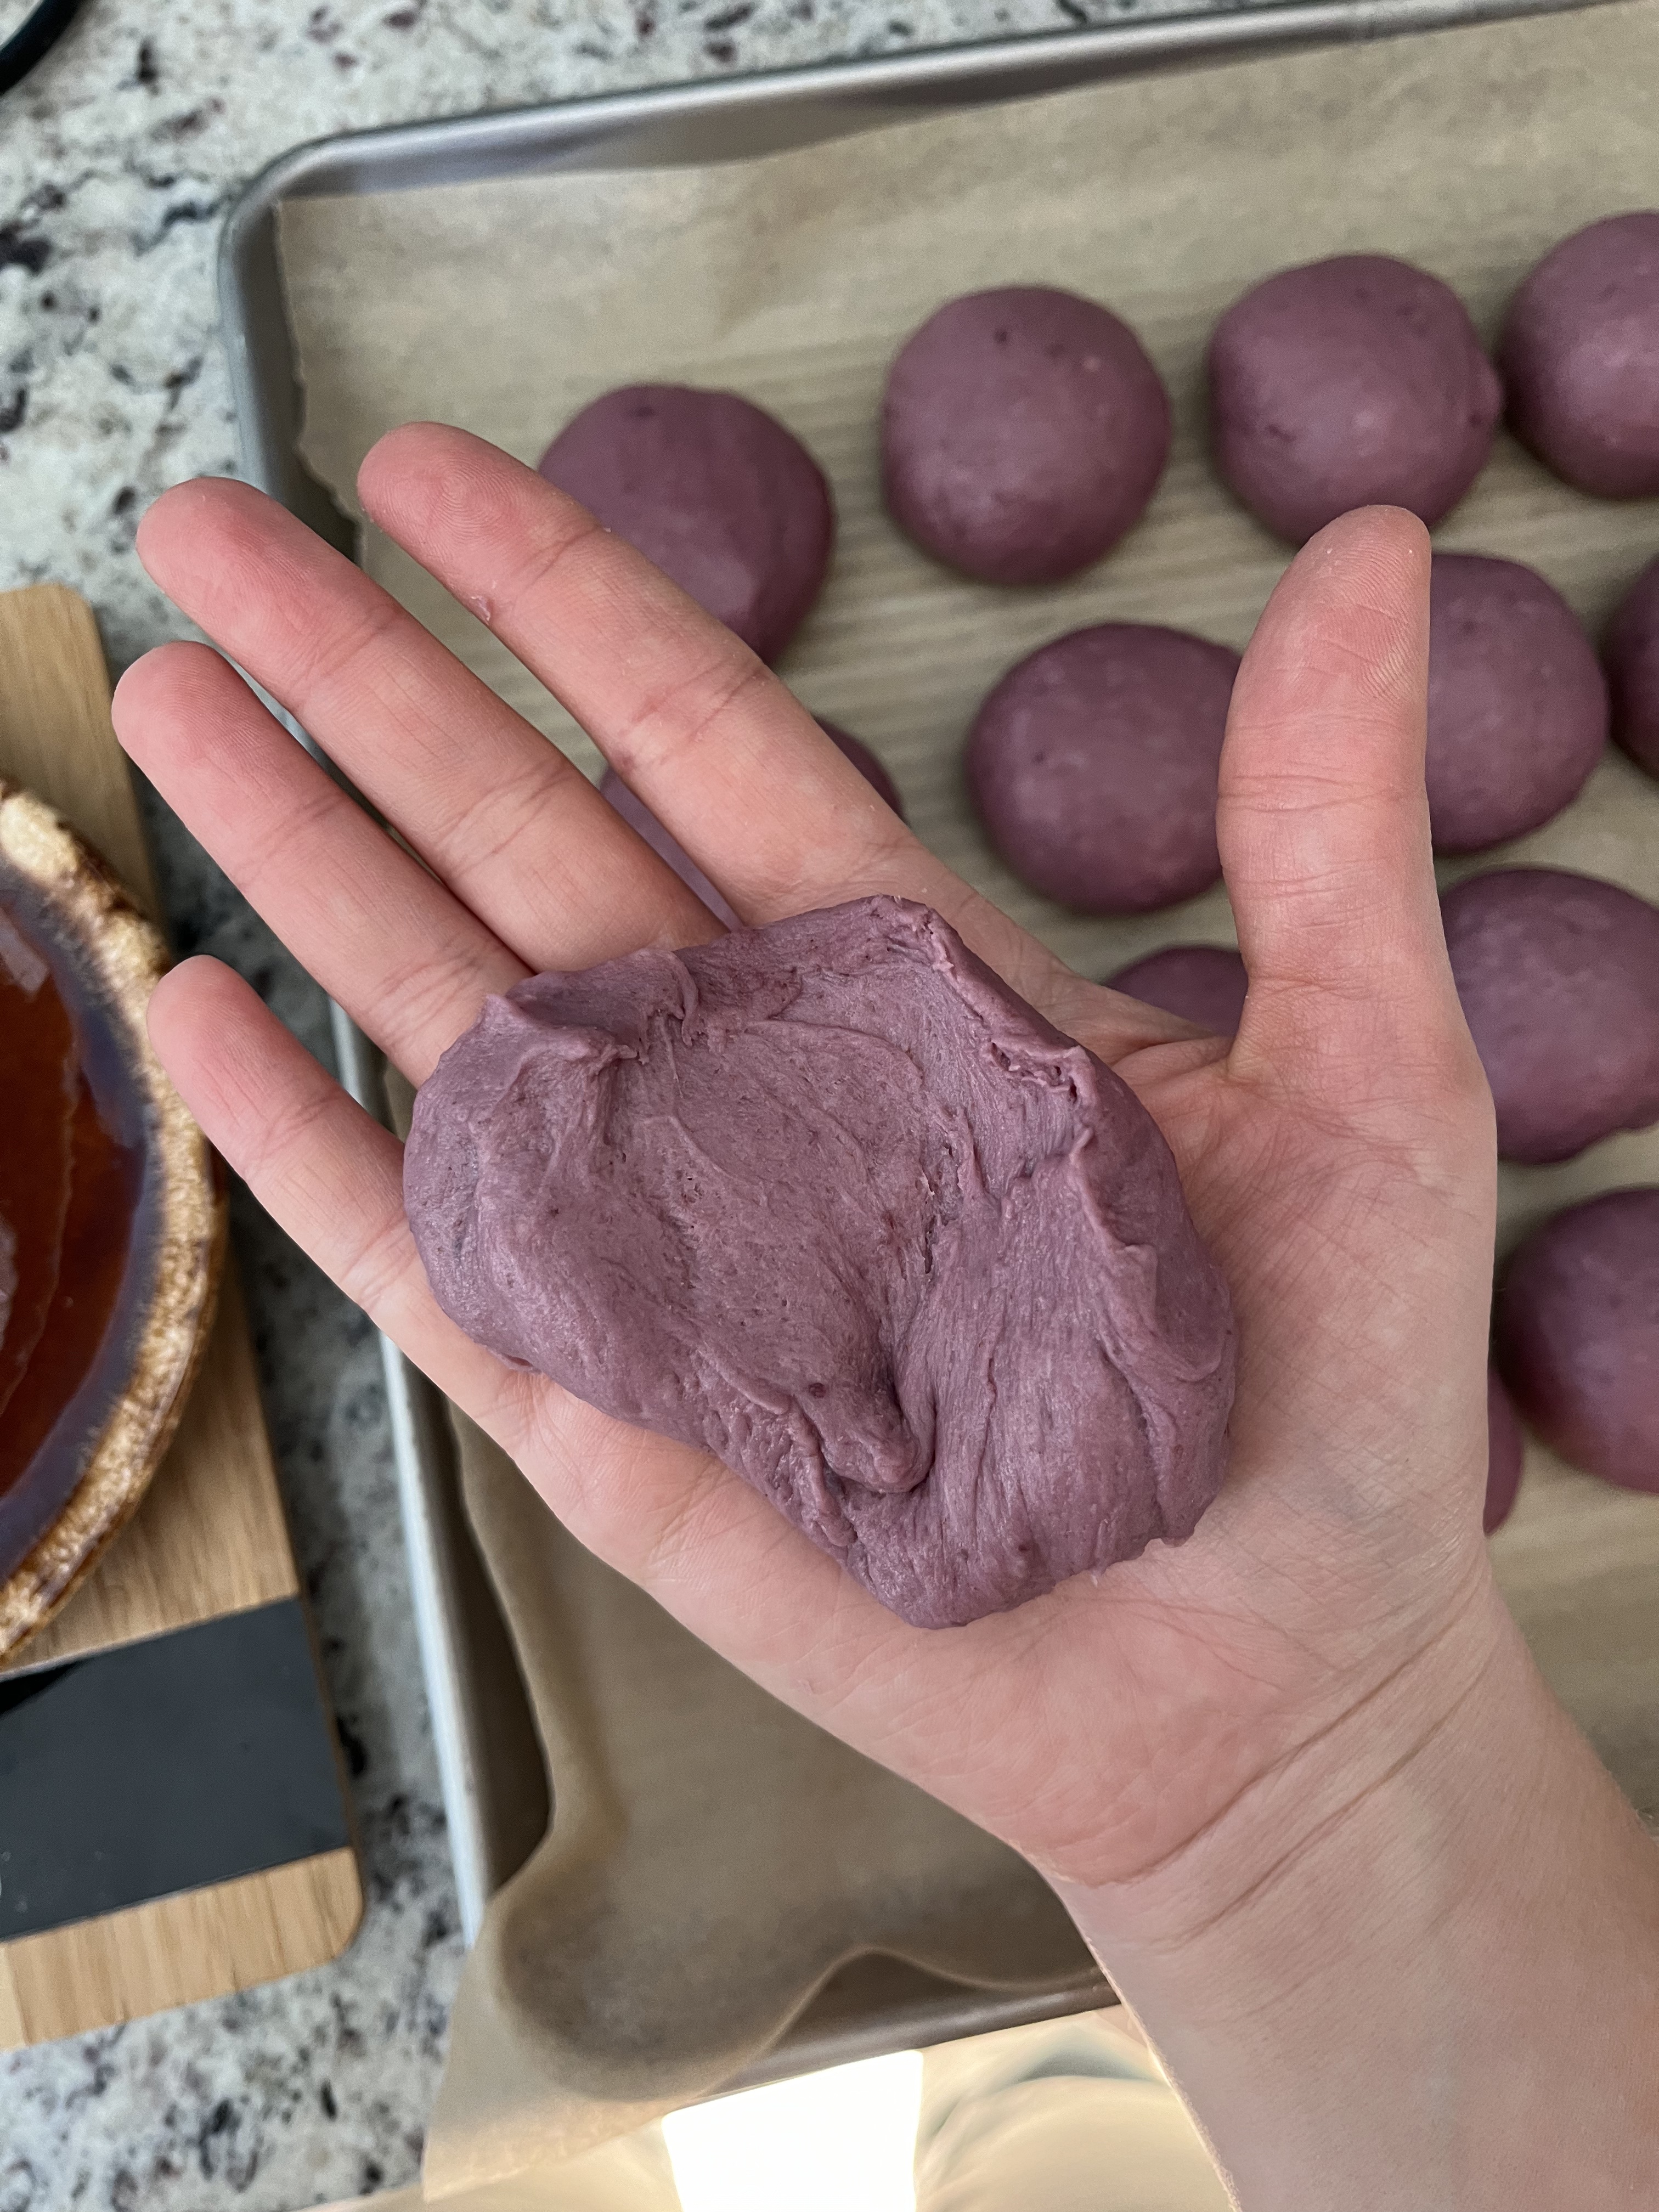
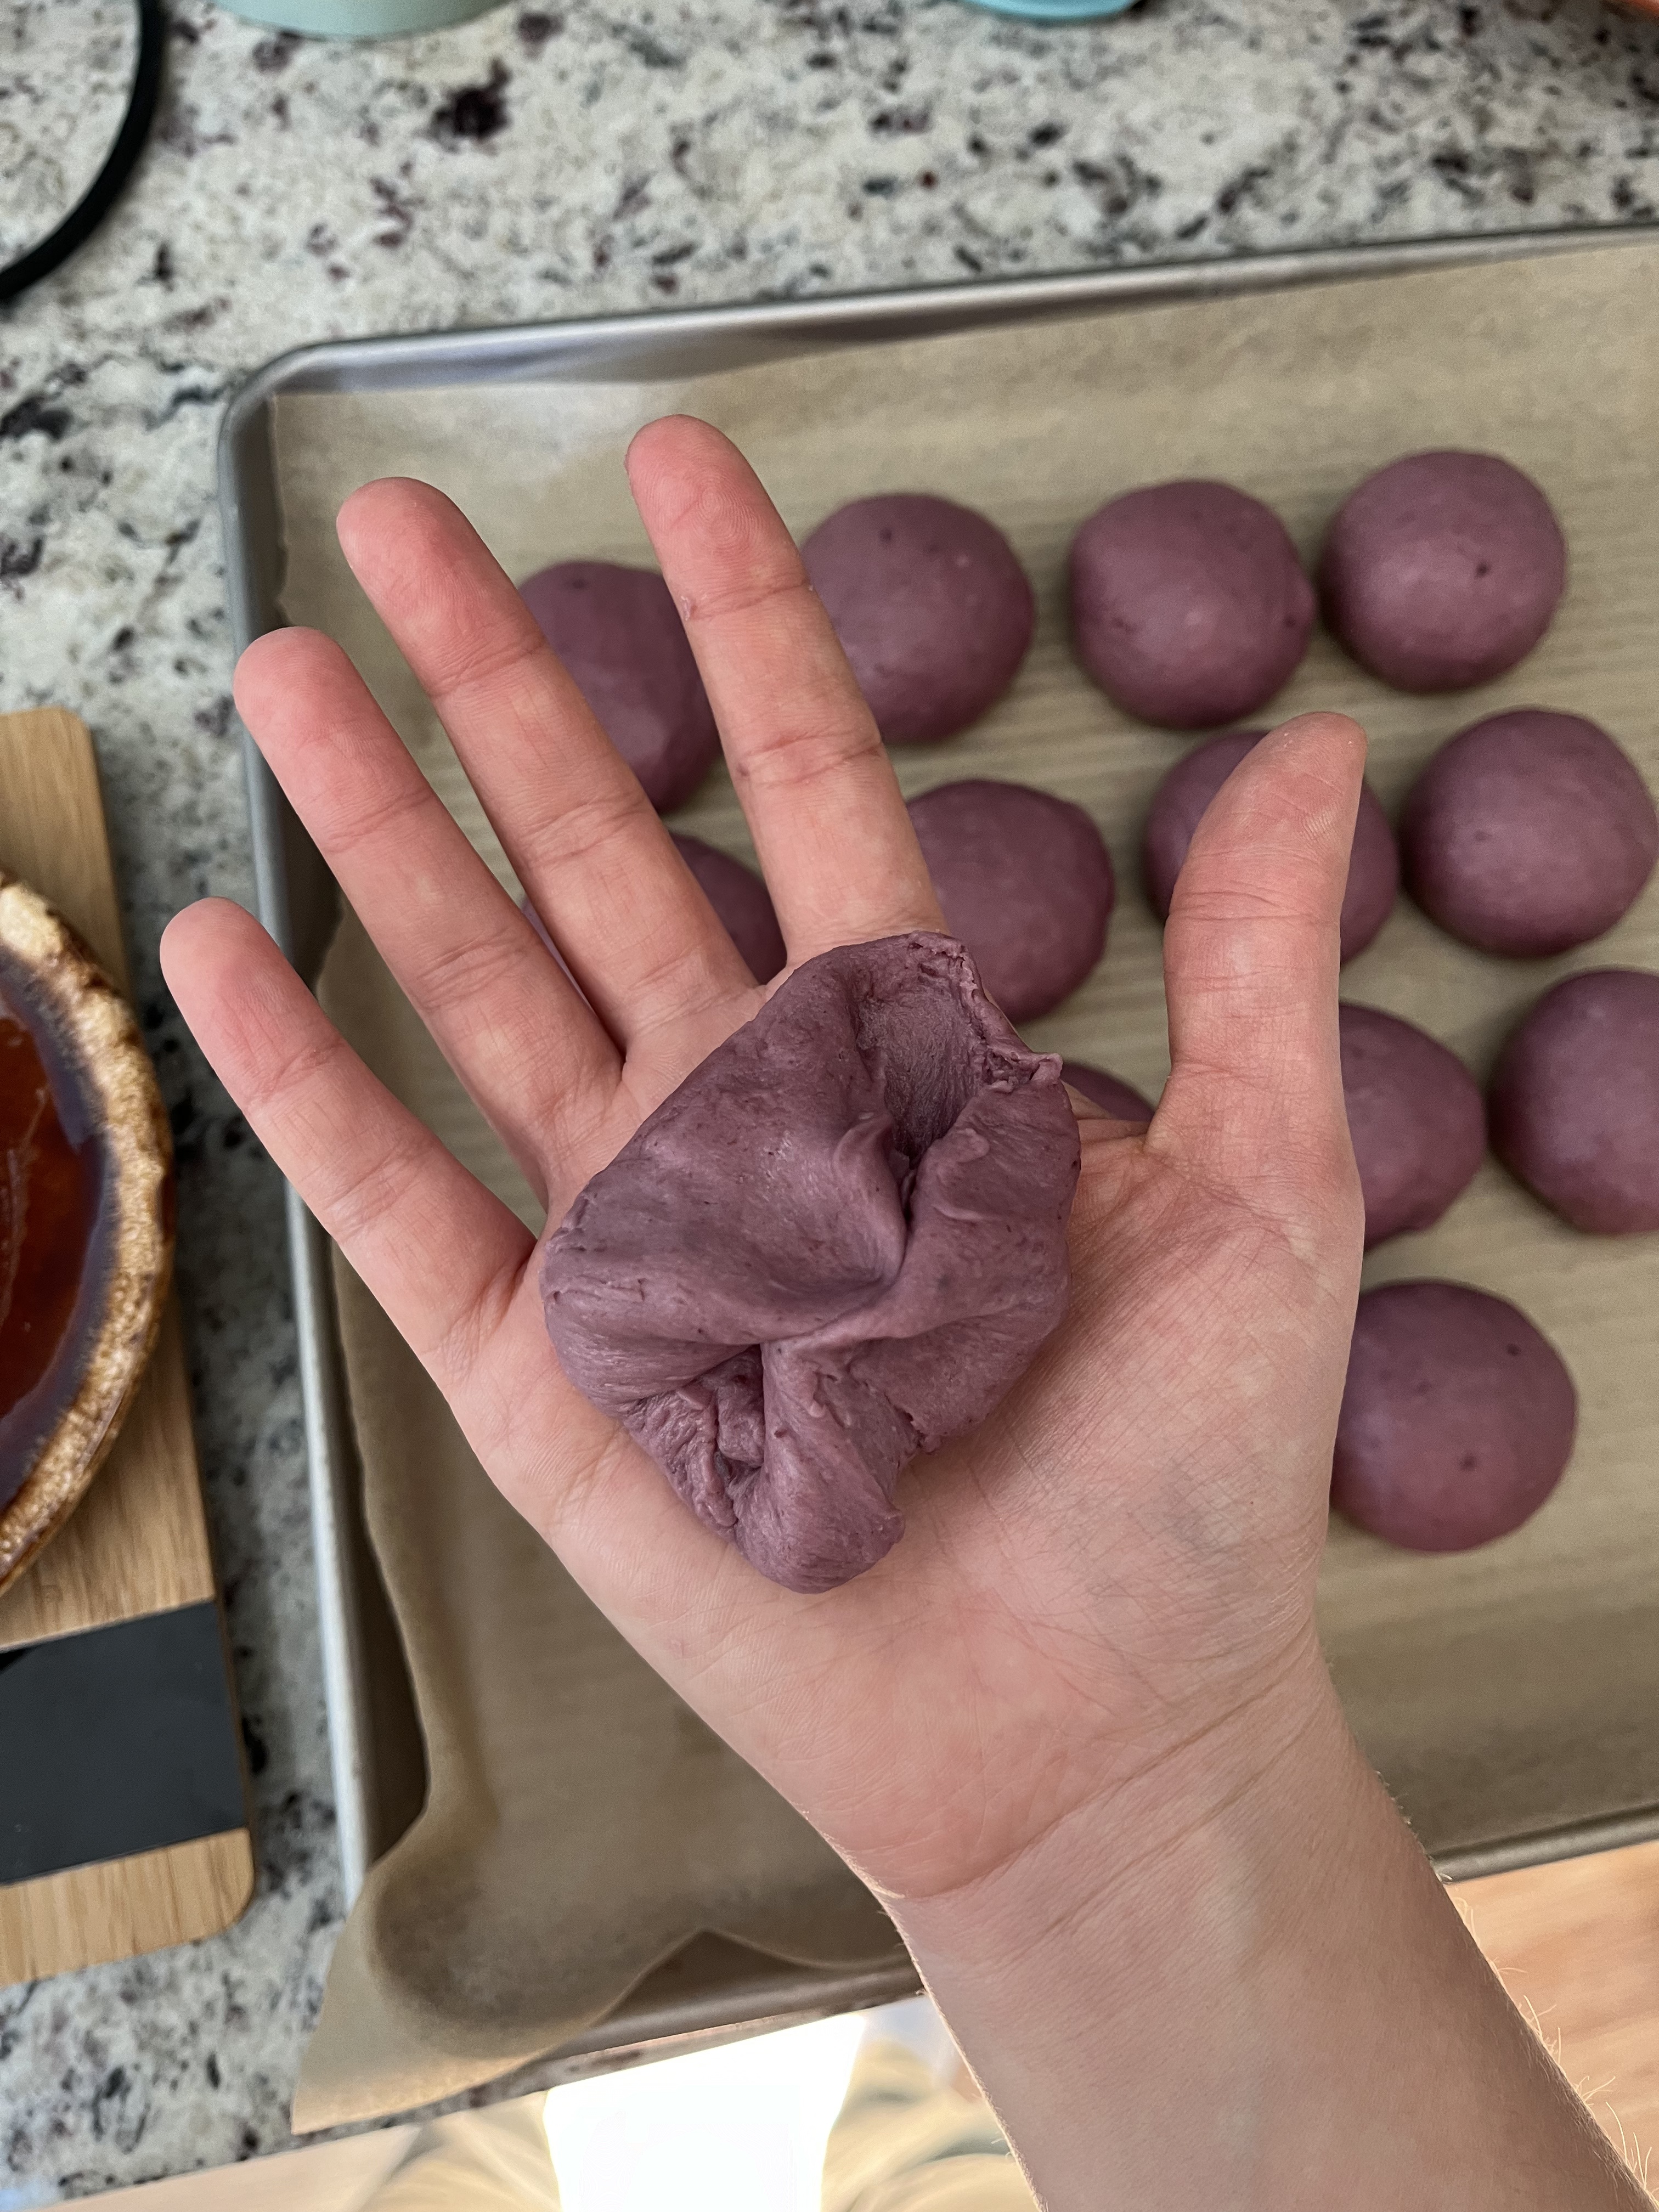
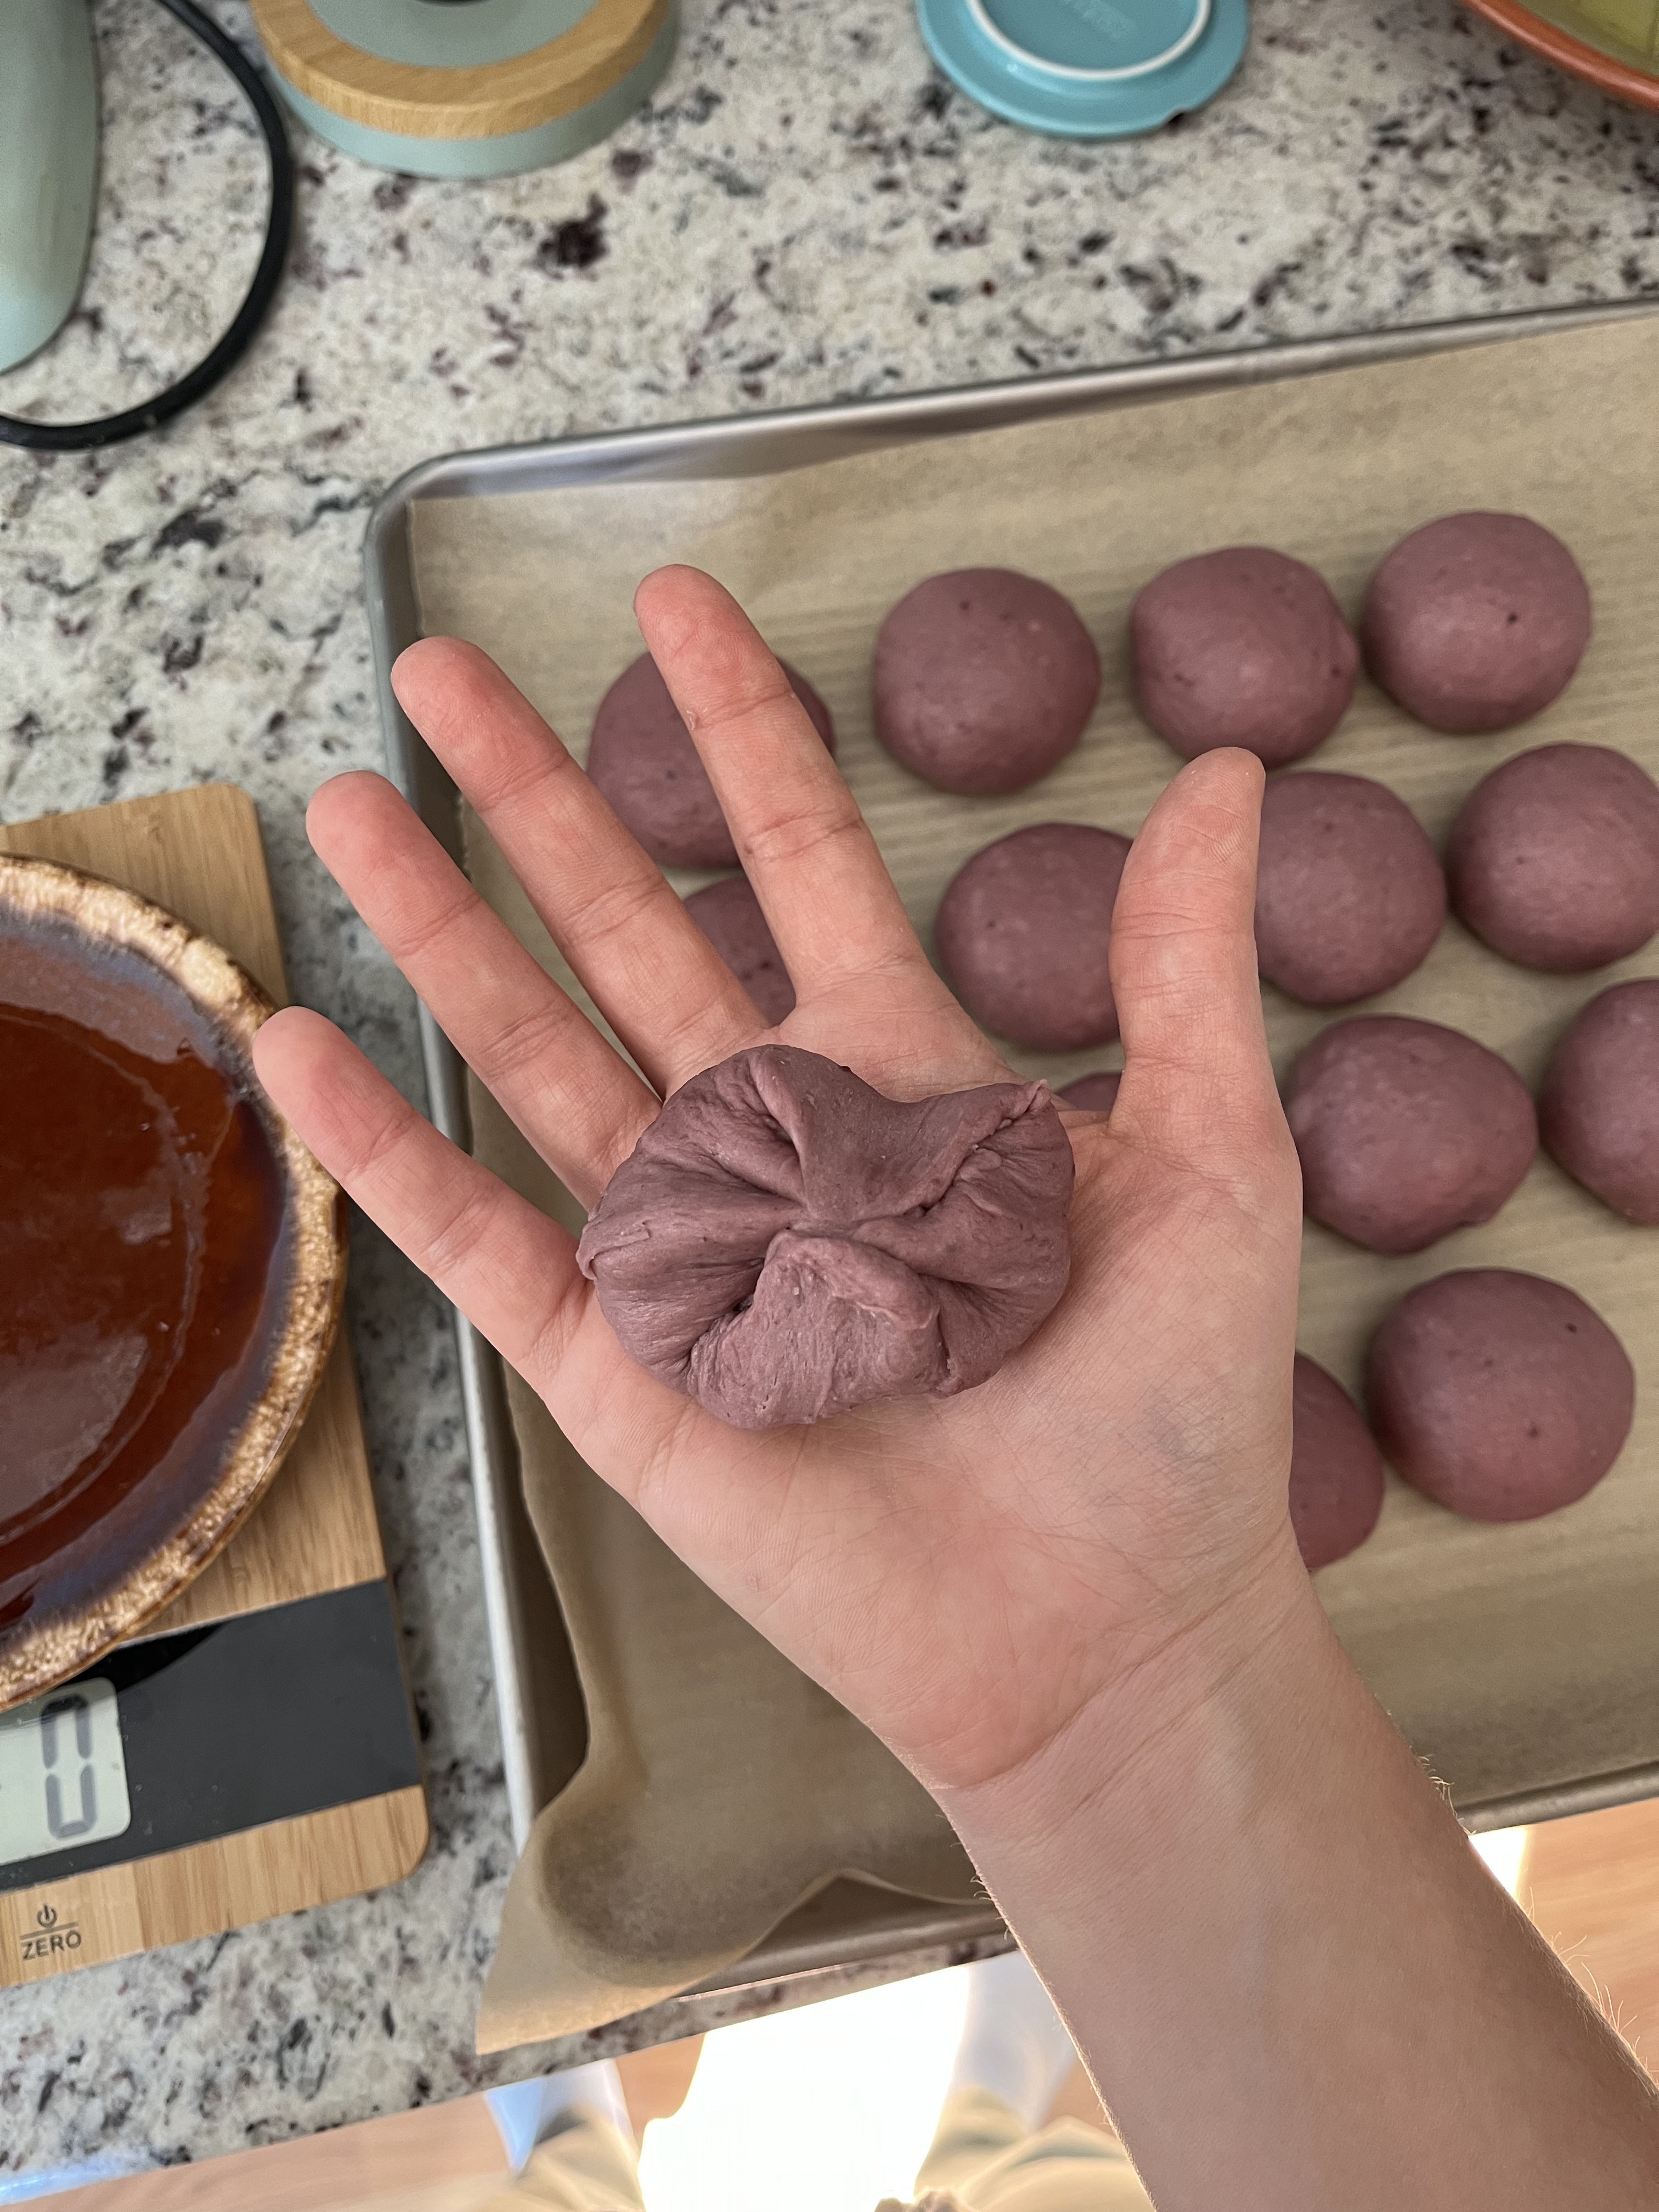
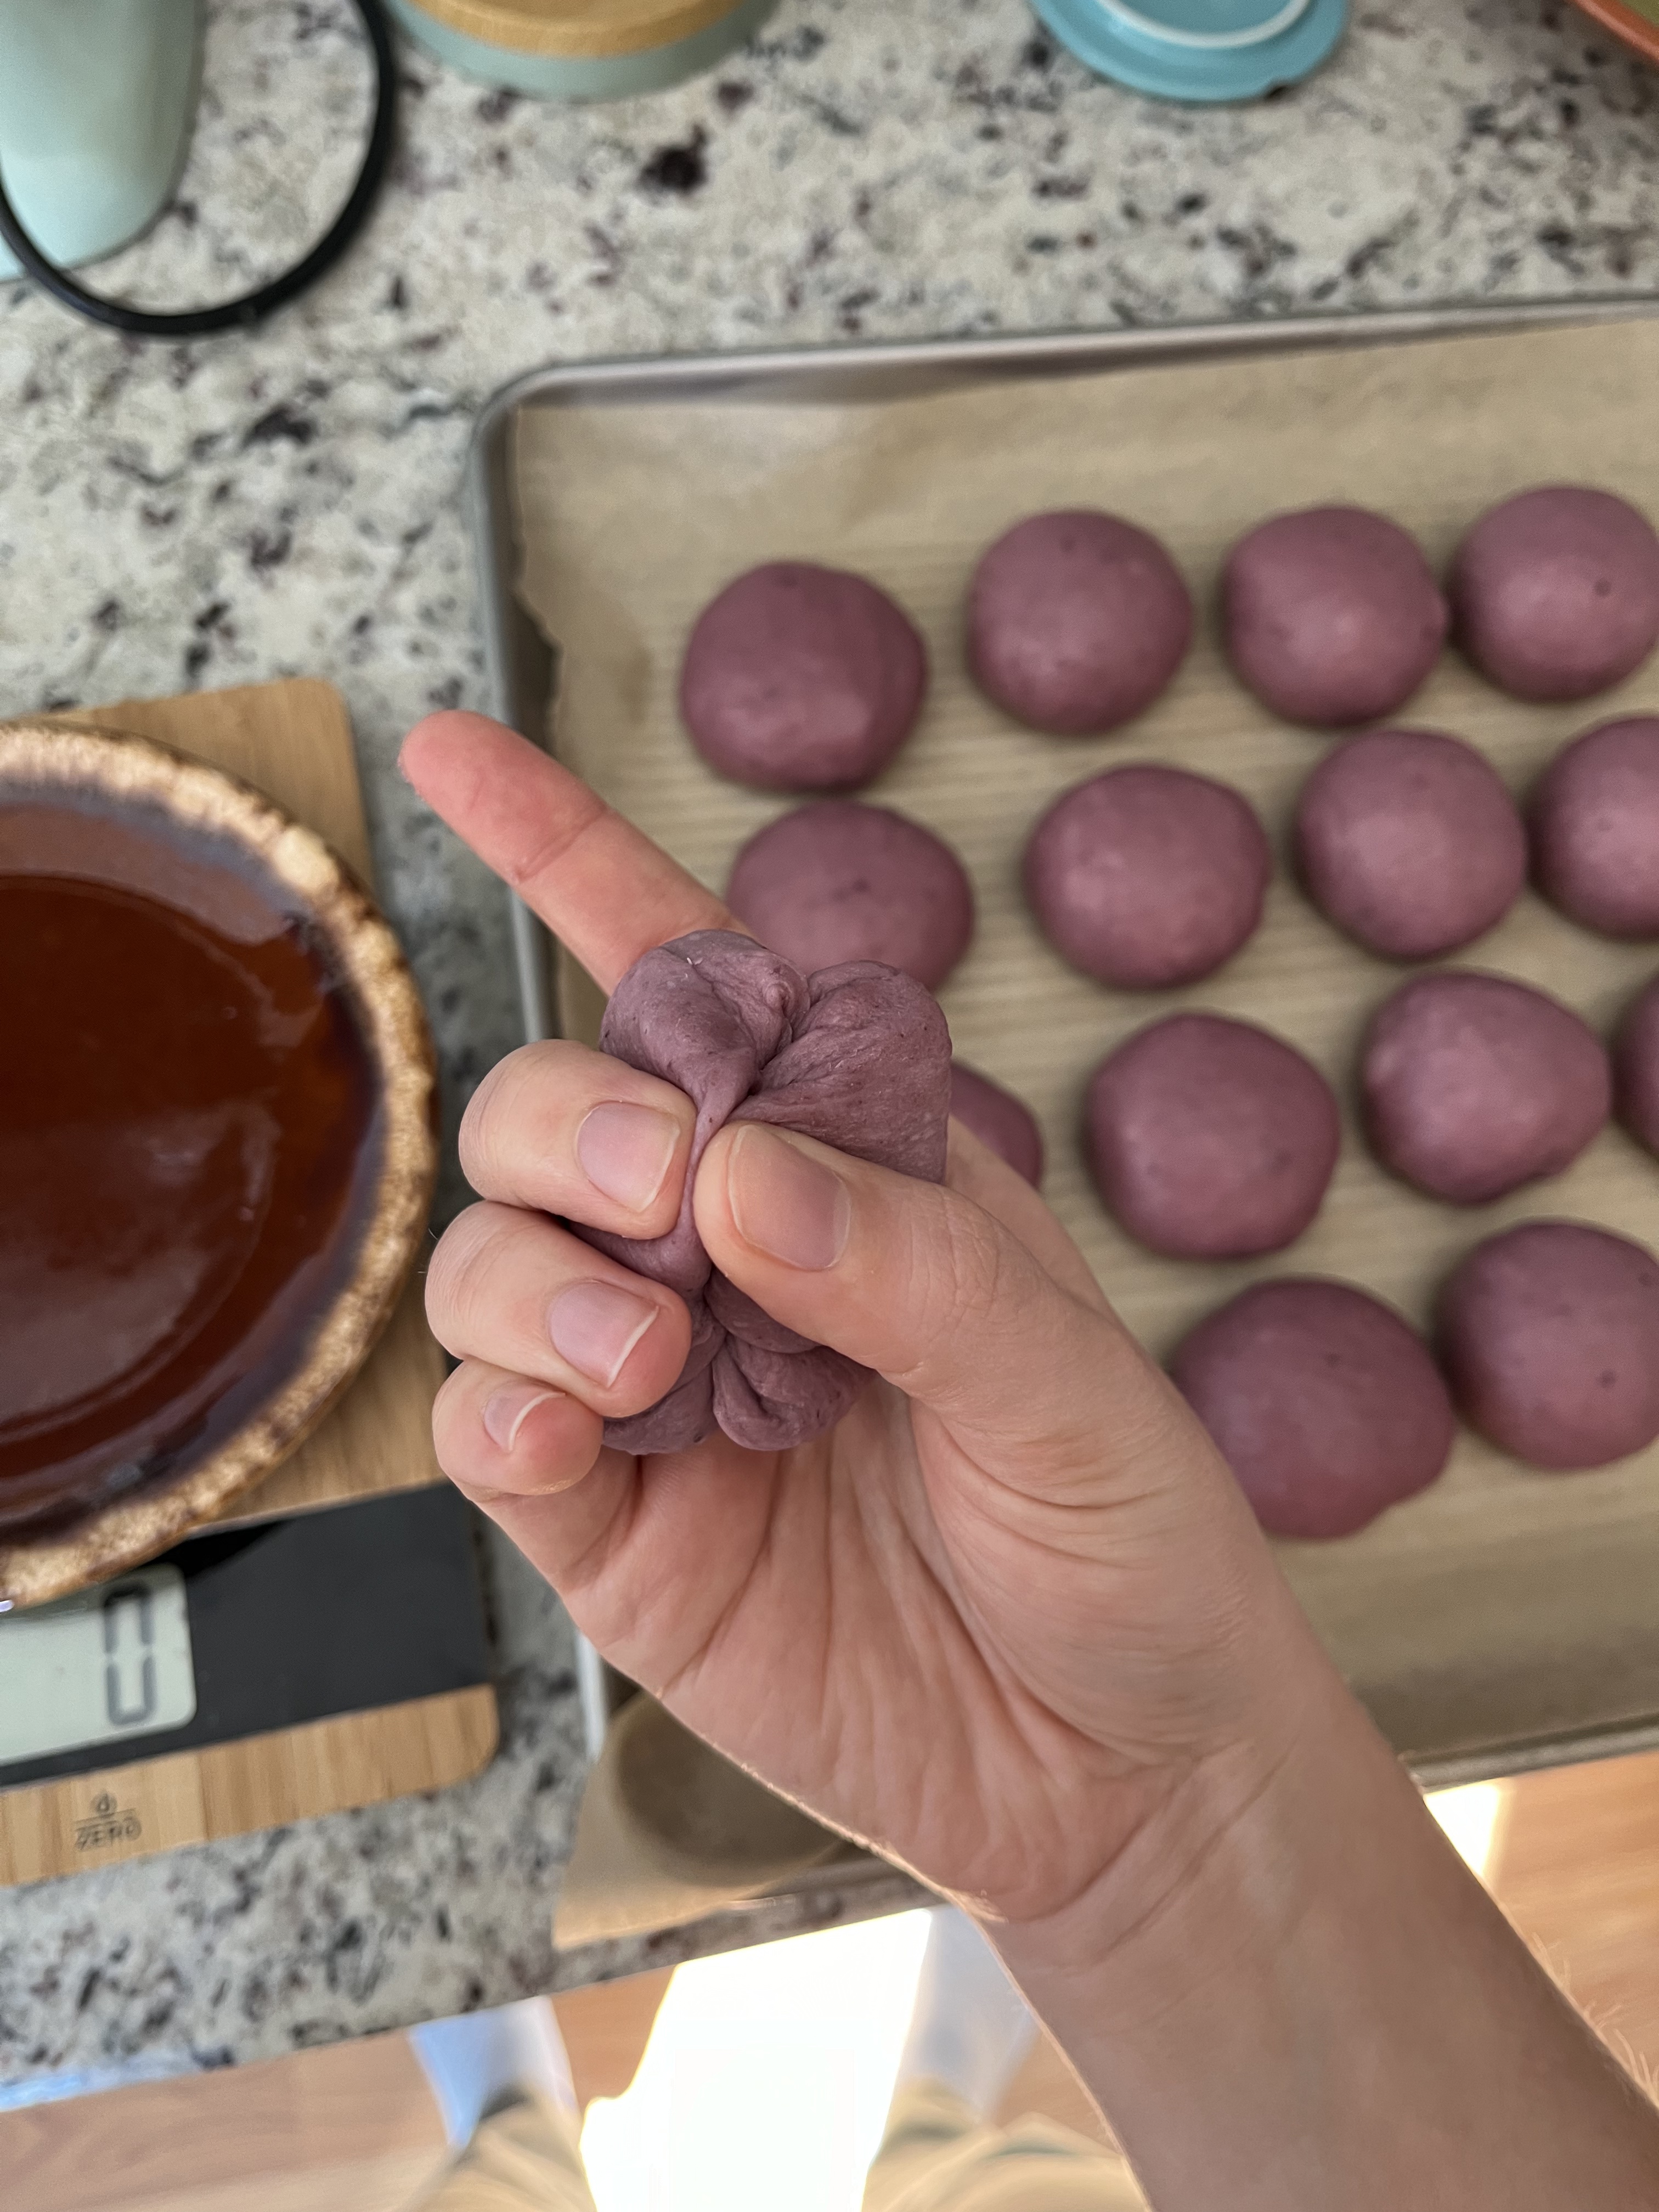
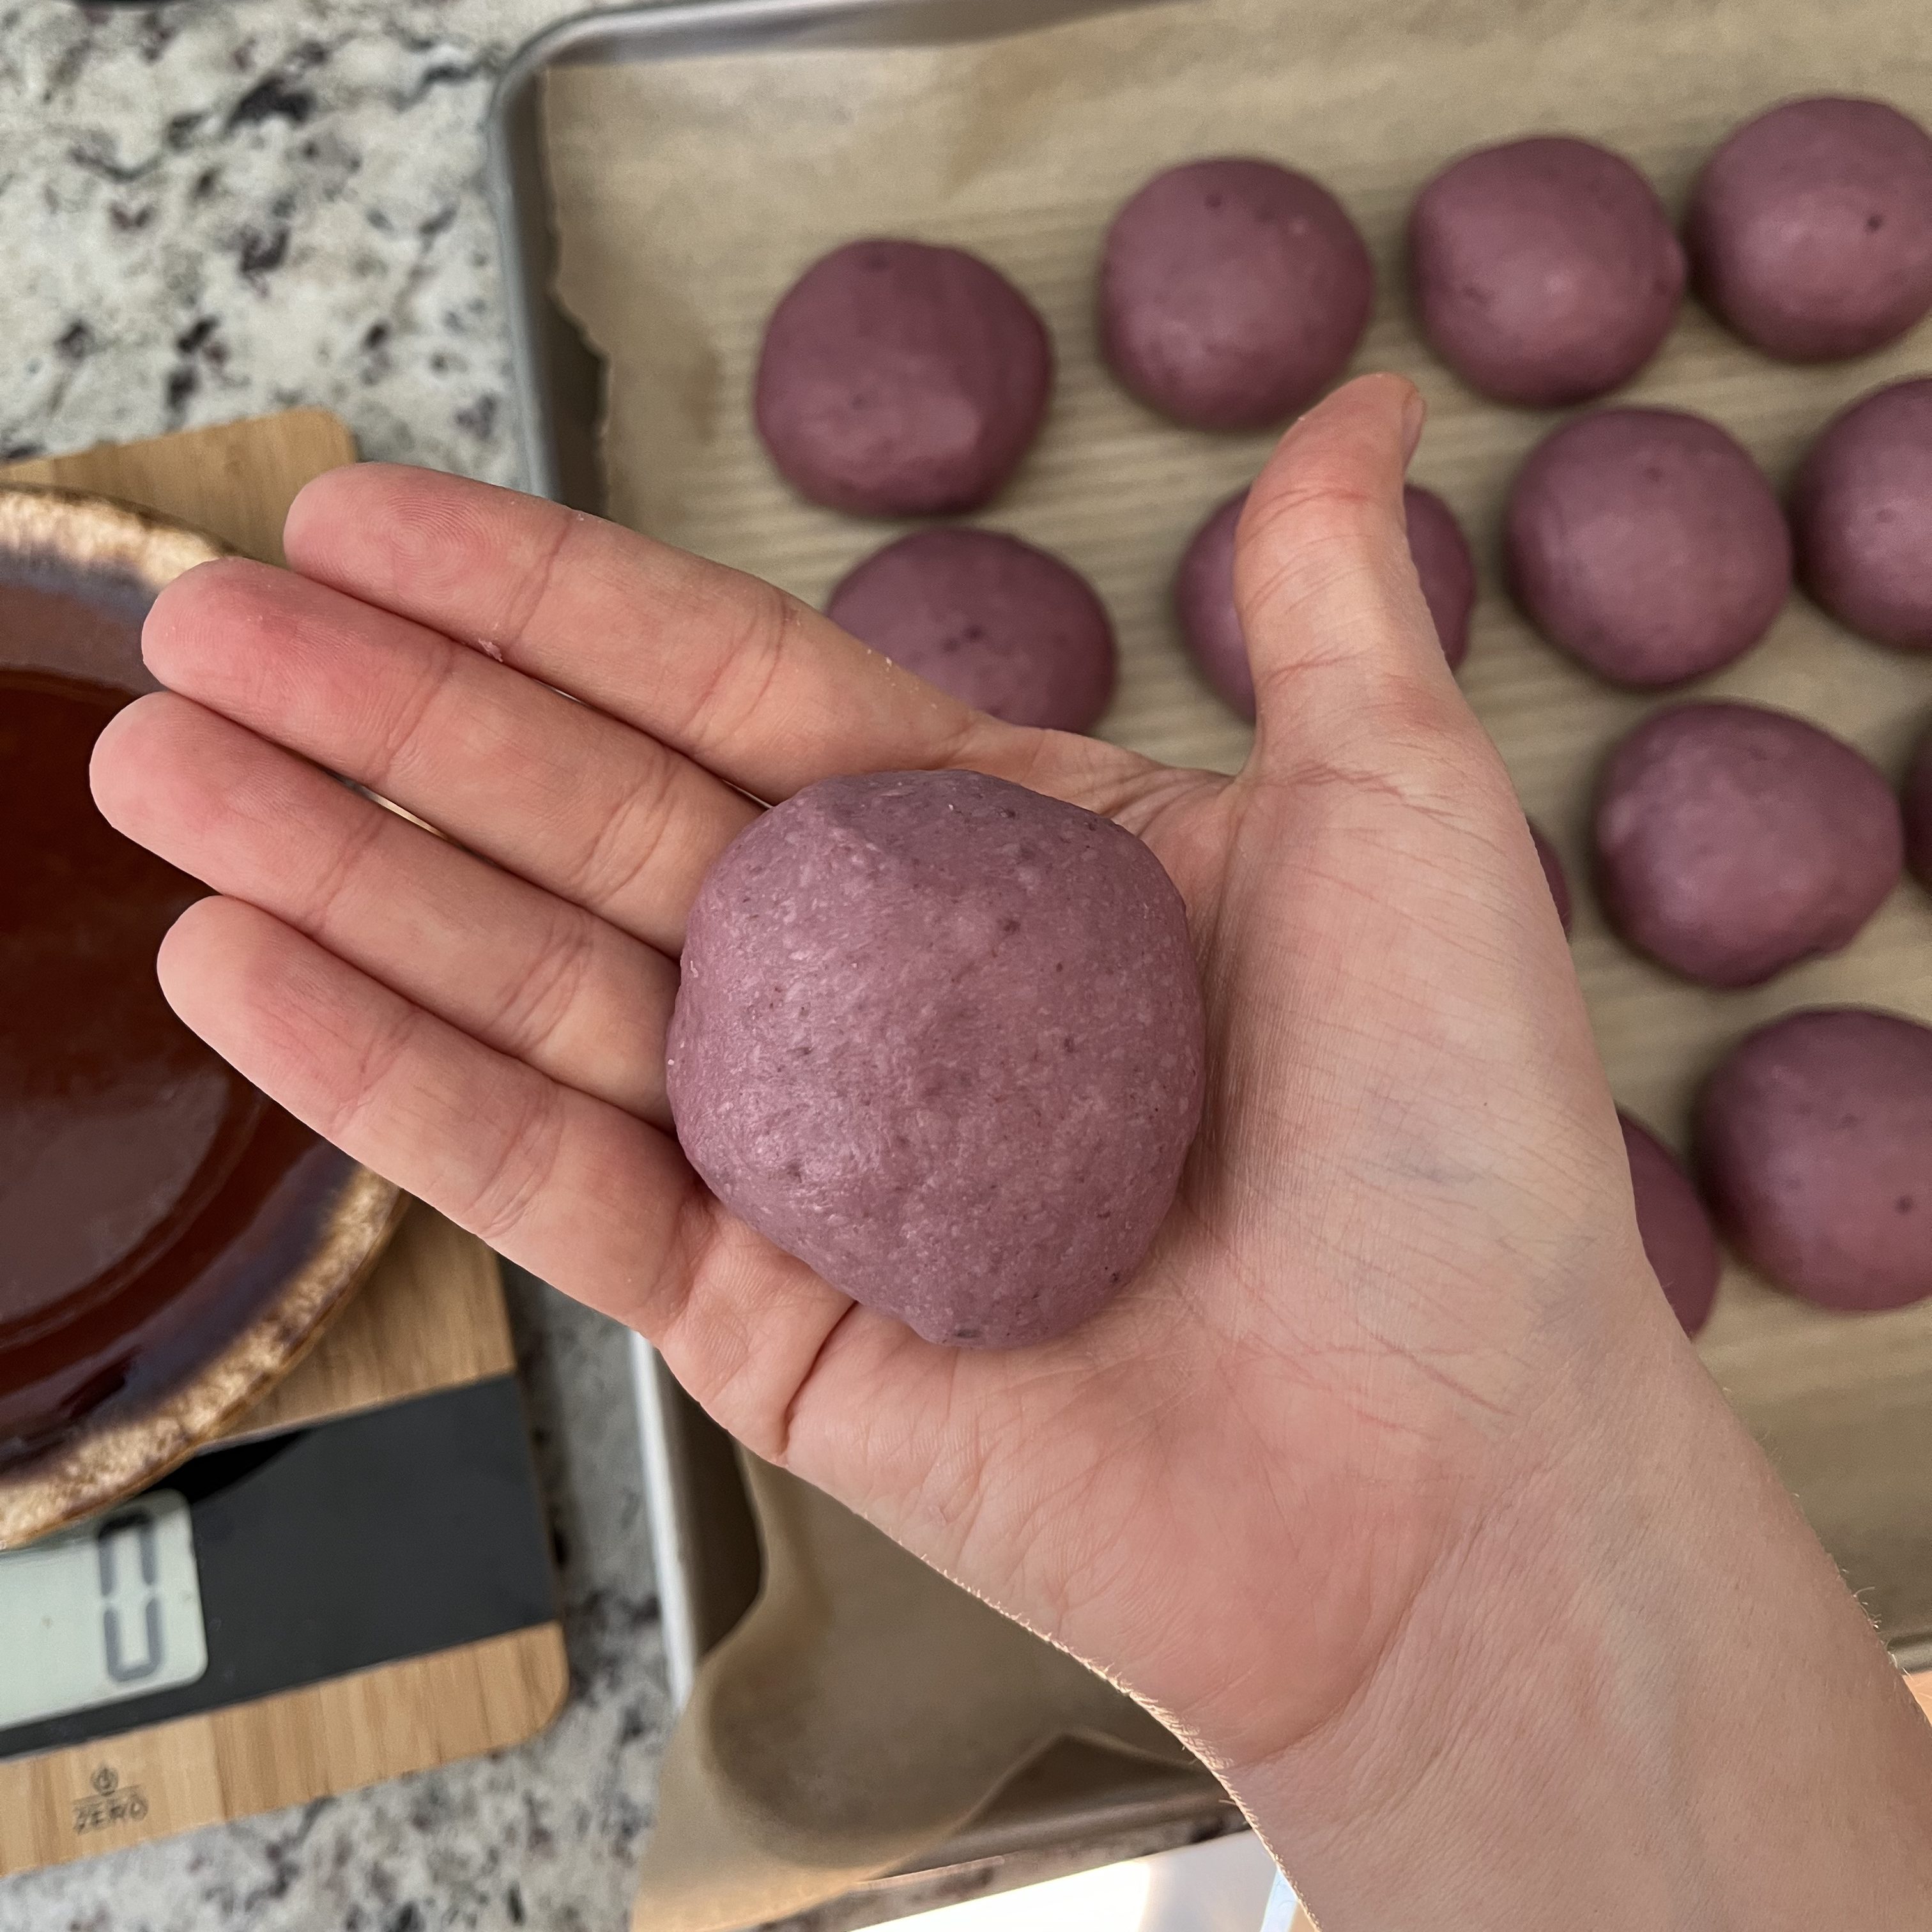
The next morning the dough hadn’t risen as much as I’d expected, but I decided to carry on. Sometimes sourdough can do surprising things and still turn out great in the end though, so I put my faith in that. It was time to shape the rolls. I pulled off pieces around 60g each and began to shape them.
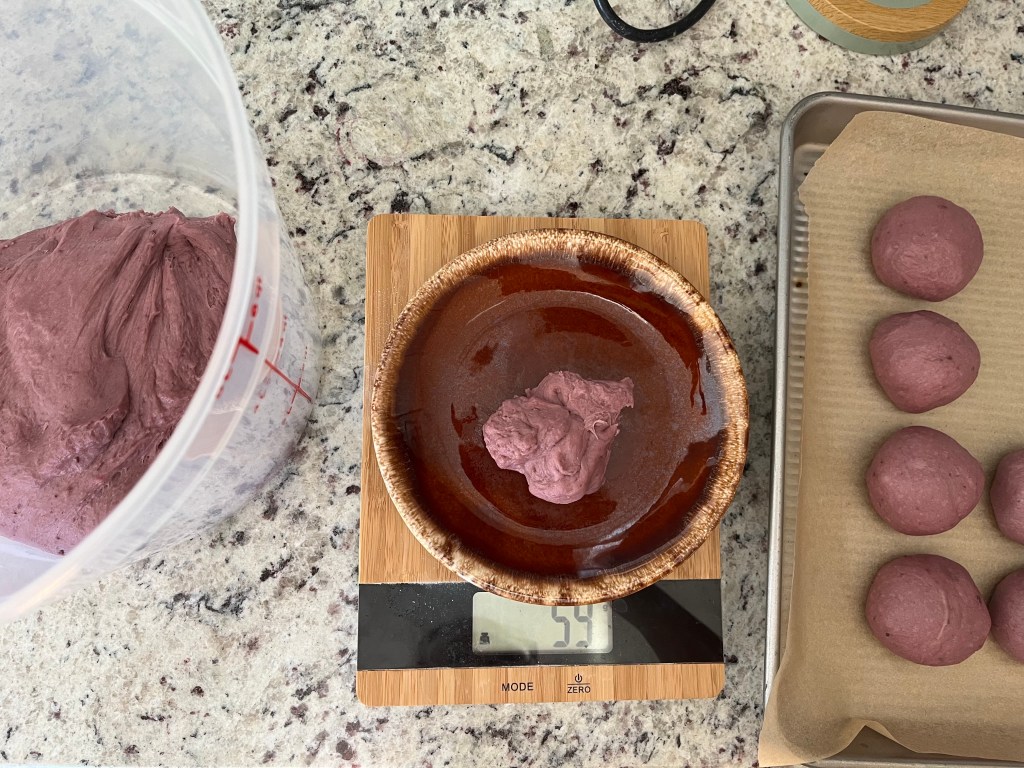
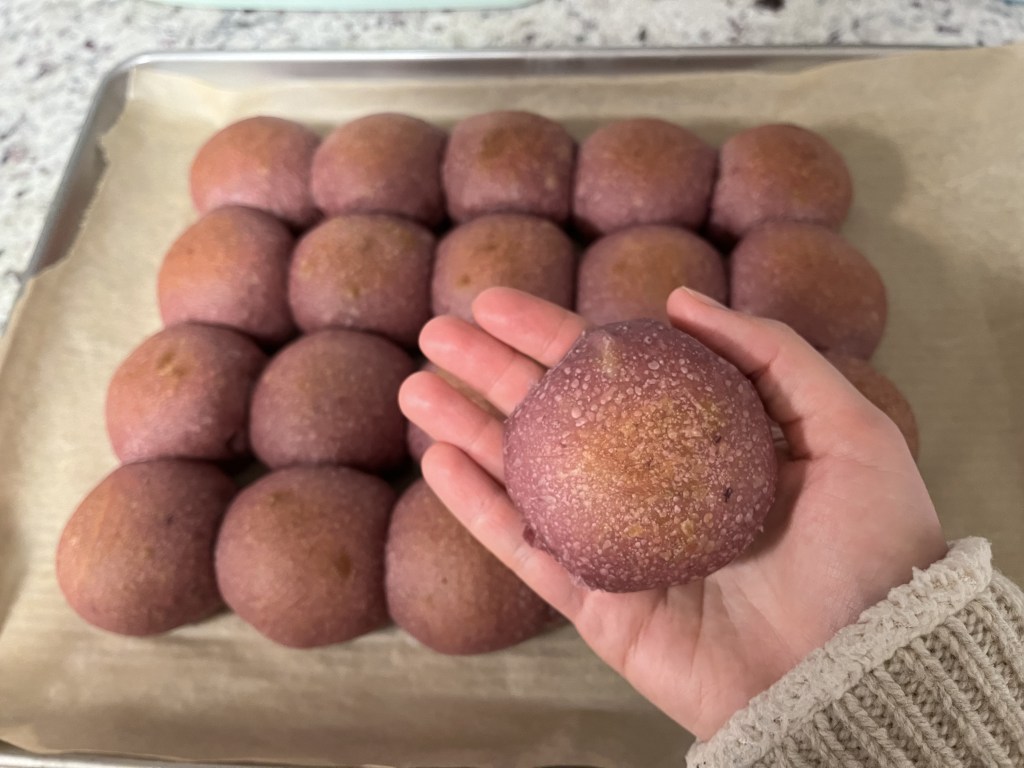
The way I shape rolls is by placing the blob of dough in my hand and then slowly rotating the dough ball, pinching the edges together with each rotation towards the top of the blob. As you rotate, keep the “pinched side” at the top and rotate the dough ball so the same side is always touching your hand. After 5 or 6 pinches, you’ll notice that if you turn the blob over, it will look like a beautiful roll!


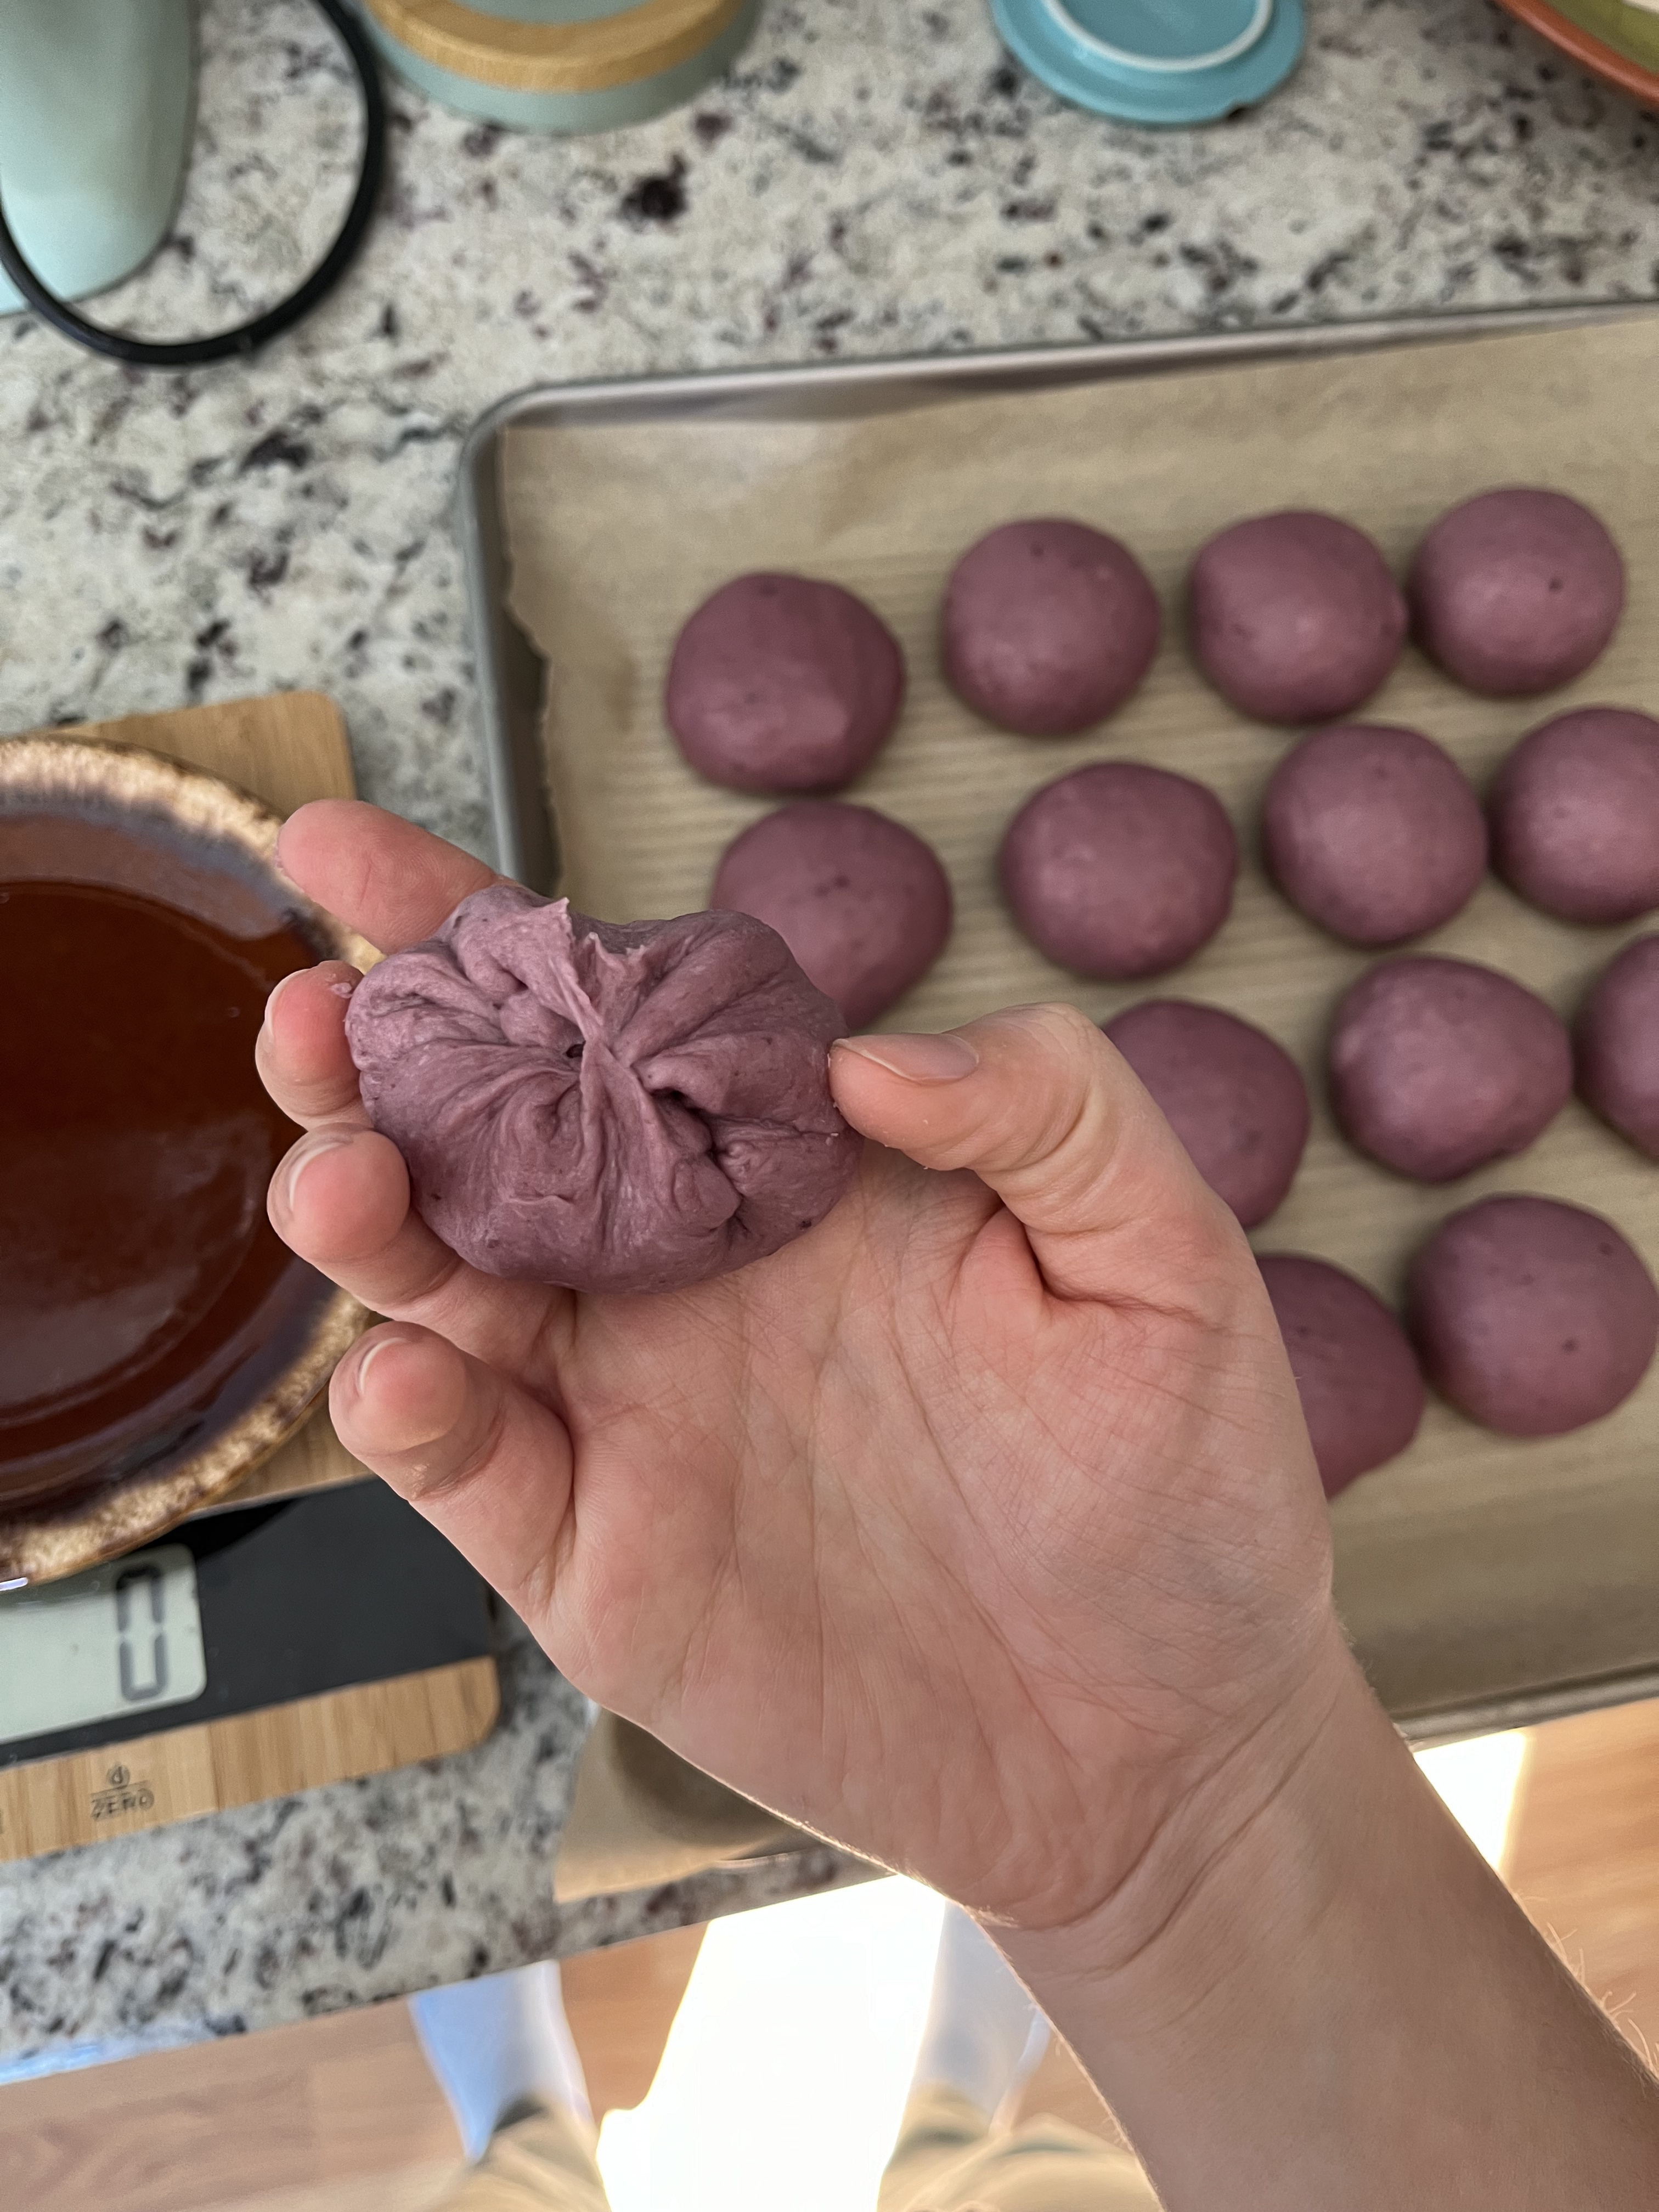

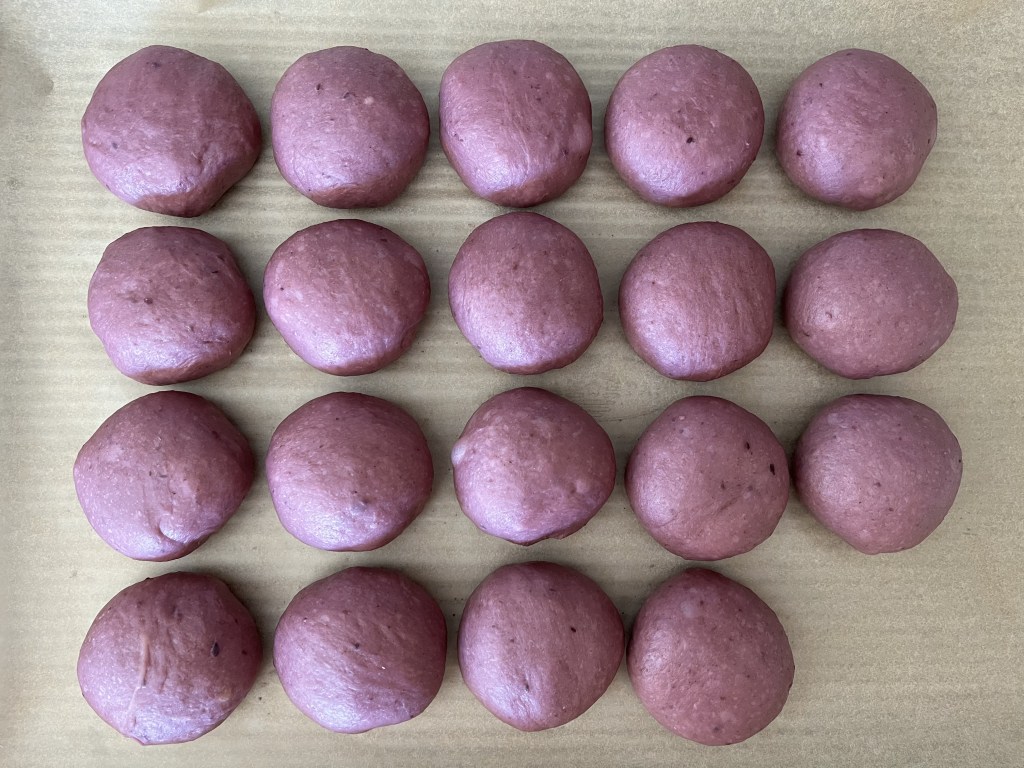
When you have this, place the roll flat side up on baking sheet. Place the rolls about a half inch apart on all sides if you want the baked rolls to be “pull apart”, and farther apart if you don’t want them to bake into each other. The rolls should look smooth on the outside.
I covered the dough balls with plastic wrap and let them proof for about 7 hours. If your house is warm, it might take less time to proof (I expected it to take 4 hours), but that’s how long it took for me in my kinda-cool house. You’ll know they’re ready to bake when they are somewhere between just starting to touch and touching about an inch on each side. They will rise a little more while baking, but they should look puffy before going into the oven.

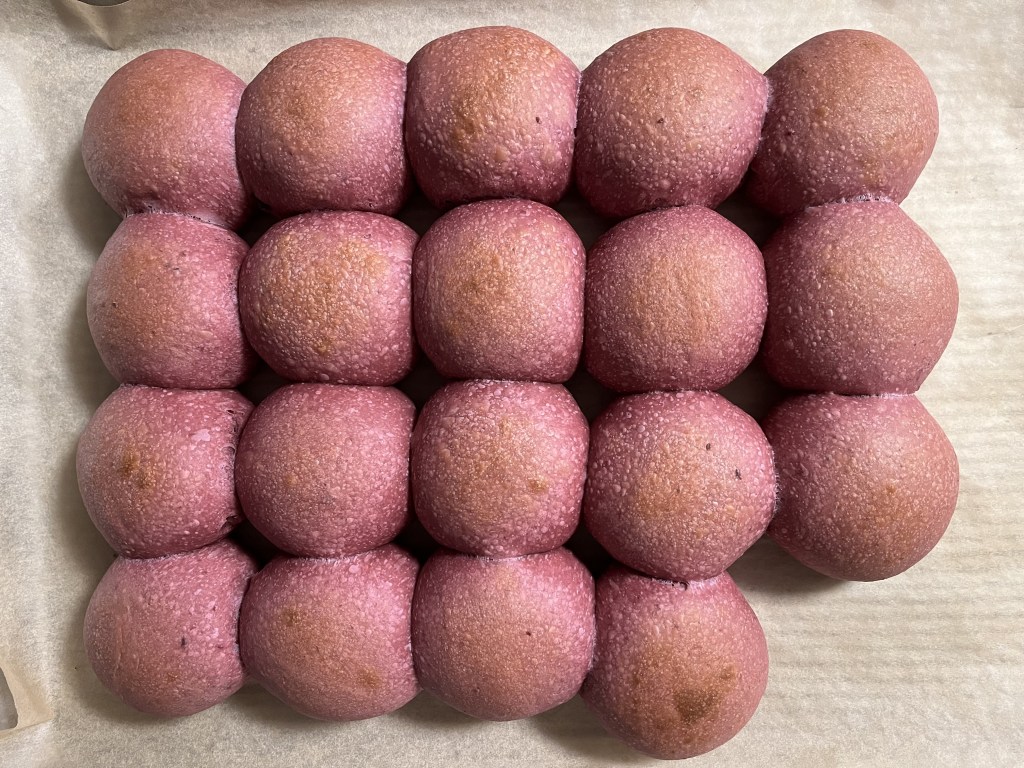
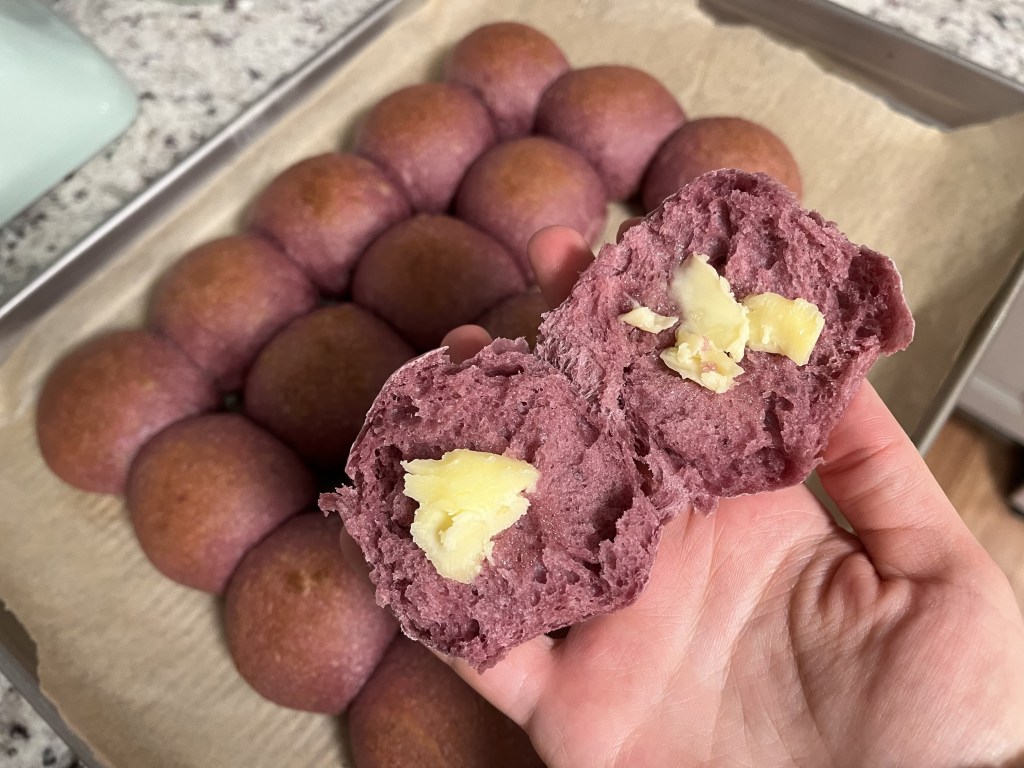
I baked these at 375˚ for about 14 mins, when I noticed that they were getting a nice little brown tint on the top. It was a little hard to tell since the rolls are such a lovely deep purple color, but I noticed some small bubbles starting to appear with a brownish tint on the very top, and the outside of the full roll felt like a hardened shell. After cooling for about 20 mins I cut one open. The inside was so soft and fragrant! It was not dense but not particularly light either, which was the goal. I wanted these to be hearty! The sweet potato flavor was very prominent to me, and was highlighted by a little butter. These would be perfect to eat with a thick soup or sauce. I can’t wait to make them again!

Purple Sweet Potato Sourdough Bread
Ingredients:
- 100g (1/2 cup) active sourdough starter
– 10g (1 Tbsp) active sourdough starter
– 50g (just under 1/4 cup) warm water
– 50g (1/3 cup) all-purpose flour, or 25g each of all-purpose and whole wheat flout - 125g (1/2 cup) warm water
- 115g (1/2 cup) butter, softened and cut into 1/2 Tbsp chunks
- 50g (1/4 cup) granulated sugar
- 225g (1 cup + 2 Tbsp) riced purple sweet potato
- 1 egg
- 1 teaspoon salt
- 455g (~3 3/4 cup) all-purpose flour
Instructions:
Around 7-9am on Day 1:
- Feed your sourdough starter. In a small container combine 10g active sourdough starter, 50g warm water, and 50g all-purpose flour very thoroughly. Cover and set aside at room temperature. If you don’t have sourdough starter you can usually get some from your local bakery, or it can be ordered online.
- Prepare the sweet potato. Preheat the oven to 425. Wash one large purple sweet potato (or two medium purple sweet potatoes) and piece the outside a few times with a fork. Bake for 40-50 mins or until very tender and easily pierces with a knife all the way through. Let the potato cool completely, then remove and discard the skin and press the flesh of the potato through a potato ricer, food mill, or food processer. In the absence of these tools simple mash the potato thoroughly to remove any chunks. Cover and set aside at room temperature.
Around 4-6pm on Day 1 (~9-10 hours after step 1):
- In a large bowl combine the warm water, 225g of riced sweet potato, all-purpose flour, and 100g of active sourdough starter. This is easier in an electric mixer but mixing by hand is also perfectly fine. Add in the salt, egg, and sugar and mix until fully combined. Continue to mix slowly while adding the butter one chunk at a time over a few minutes. Once the butter has been added continue to mix for 6-8 mins (8-10 if mixing by hand) or until the dough becomes very smooth and soft. If the dough seems excessively sticky add a bit more flour and mix fully.
- Cover the dough and let rest overnight at room temperature in a warm place, preferably away from any drafty windows.
Around 7-9am on Day 2:
- Your dough should be slightly puffy. Tear off pieces of dough about 65g (1/3 cup) at a time and use your palm, thumb, and forefingers to shape the dough into a roll by pulling all of the loose edged to the bottom of the roll. Place each roll on a prepared baking sheet with about 1/2 inch of space on each side if you want the rolls to touch when baked so they can be “pulled apart”, and more space if you do not want the rolls to touch.
- Once all the rolls have been formed cover the sheet pan in plastic wrap and let rise in a warm place.
Around 4pm on Day 2, or when the rolls look sufficiently puffy:
- Preheat the oven to 375°F (190°C). Remove the plastic wrap covering the rolls and bake for 12-15 mins, or until the rolls are golden brown on top. If there is no color on the rolls continue to bake them for a few more mins.
- Allow the rolls to cool in the pan for 10 minutes, then transfer them to a wire rack to cool completely.
- Enjoy!

That looks so fun and the color was amazing.
LikeLike