It’s that time of the year. I’ve been seeing pumpkins everywhere and wanted to try to make a pumpkin sourdough that was sweet(ish), but not too sweet, and had plenty of pumpkin flavor. I wanted cinnamon and warm spices, sweet earthiness, and also the savory funkiness that comes with sourdough. And honestly, we got there. We got there so good. I was worried about the pumpkin puree adding tons of extra moisture and over-hydrating the dough, so I pulled back on the hydration percentage of the actual flour and water. And honestly, it’s good that I did because the pumpkin filling I made was WET. I was worried about how it would incorporate, but it came together over a few folds. Let’s get into it.
I fed my starter around 9 am, starting with 10 g starter from the day before, 100 g warm water, 50 g white flour (AP), and 50 g of whole wheat flour. Then stirred all of this together with a chopstick until it was well incorporated… plus about 5 more seconds of stirring to make sure. Why a chopstick? I keep my starter in a pint-sized glass jar, and I find that there’s not a ton of room to get a spoon in there and effectively stir. Since I’m not doing any scooping, I’ve noticed that a chopstick swirled around works perfectly at incorporating the flour and getting into the crevices at the bottom of the jar, plus the starter is less likely to stick to it as I pull it out.
It’s just starting to be fall here, so the days are getting cooler, but the heat hasn’t quite kicked on yet. It takes my starter 8 hours or so to reach its peak in these conditions, which is fine for my schedule. On this particular day, it was looking tall and airy around 5 pm. I usually try to use it when it’s doubled (or more) in size and still convex on top, with starter in the middle of the jar pushing up farther than the starter around the edges. If you let it go too far, where it’s started to deflate, it won’t yield quite the same results in terms of airiness of your final loaf.
So this is where the fun part begins. In a big plastic tub, I added 314 g white flour, 138 g whole wheat flour, and 316 g of warm water. That’s 70% hydration, which is a pretty firm dough by my account, but I wanted to allow for the wetness of the inclusions. I mixed those three things together until all of the flour was incorporated, then covered it and spent 20 mins folding laundry while it rested and hydrated. When I came back, it honestly looked much less dry and dense, which was great. At this point, I added the starter and the salt; 104 g of starter right on top and 9 g of kosher salt sprinkled around the edges. My scale isn’t great at small measurements, so… to the best of my knowledge, it was 9 g of salt, but it looked like a lot. That’s fine with me. Then I worked my way around the bowl, grabbing the edge farthest from me and pulling it over the top of the dough, then turning the bowl 90 degrees and doing it again. When all of the starter was enveloped inside the dough, I used my thumb and forefinger to pinch off balls of dough until there were about 5 or 6 of them. This part is rough and fully up to interpretation, so don’t feel the need to be too exact. Then I started again with the stretching and folding, working my way all the way around the bowl. I continued these steps one or two more times until I couldn’t feel any salt crystals anymore. That’s your sign that everything is fully incorporated. At this point, your dough is tired from all that hard work, so you want to give it a rest to let those gluten strands relax.
Now you can prepare your inclusions. I did 135 grams of organic pumpkin puree, 42 g brown sugar, 1 tsp spice (I used apple pie spice, but you could use a mix of cinnamon, nutmeg, clove, or whatever sounds good), and 48 g of pumpkin seeds. The best way to do it would be to toast the pumpkin seeds beforehand, but I didn’t want to do that because I didn’t want to wait for them to cool down. Next time I probably would, though. Mix all of those together in a small bowl.
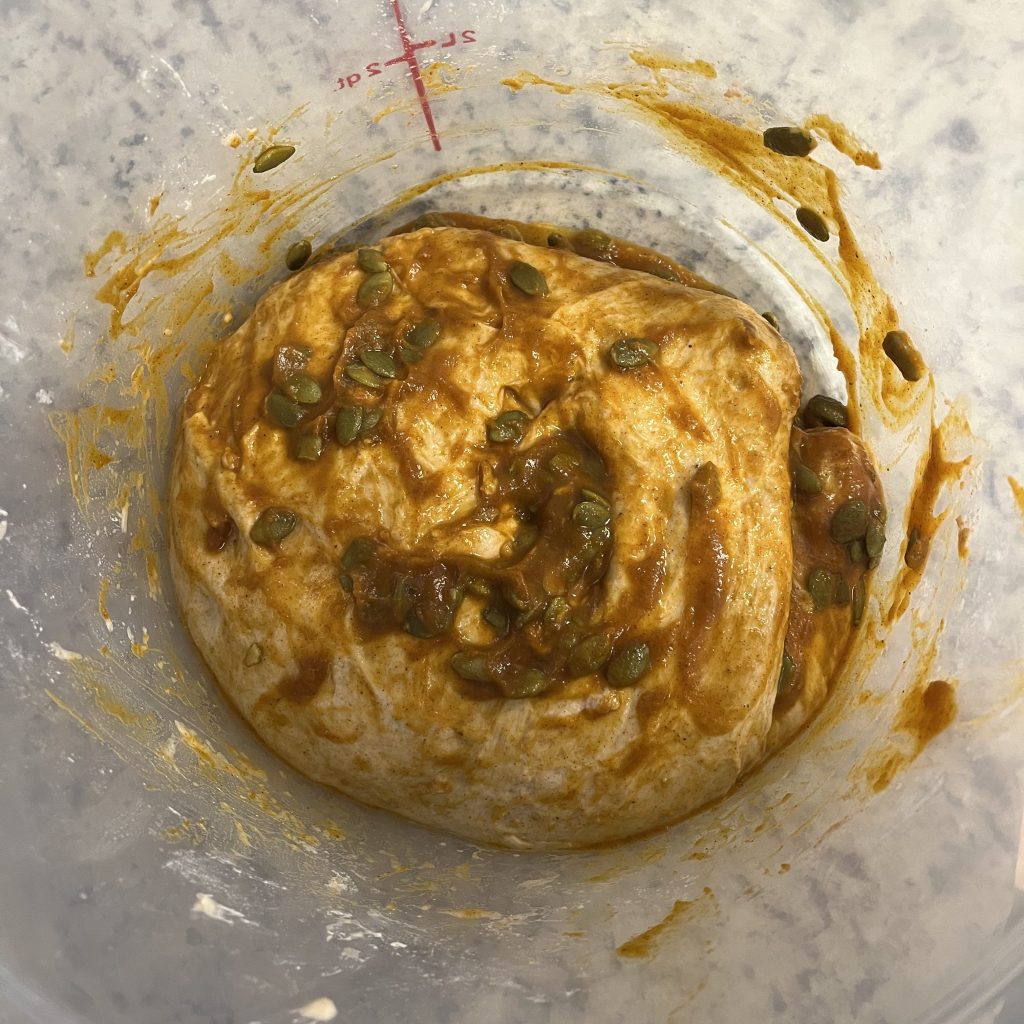
About 30 mins from the time you stopped mixing, you’re ready to add in your inclusions. This is how you’ll do it: start by scooping about 1/4 of your pumpkin mix on top of the dough. Then grab the edge of the dough that’s farthest from you, stretch it up into the air, then fold it over the top of the dough, covering the pumpkin mix. It might not stick to itself because the pumpkin is so wet, but that’s fine. Now turn the bowl 90 degrees and do it again, with another 1/4 of the pumpkin mix. Continue two more times until you’ve used all of the mix and you’ve stretched and folded all 4 “sides” of your dough. It will feel really loose and weird, and it’ll look like the pumpkin isn’t incorporating, but that’s okay, it’ll get there. Let it rest.
Every 30 mins for the next 1.5 hours, repeat this process of stretching and folding the four “sides” and then letting it rest, for a total of 4 “stretch and folds,” including the first one you did to add the inclusions. By the time you’re done, the pumpkin should be well incorporated. Now just let the dough hang out until the morning, maybe doing one more stretch and fold before you go to bed if it’s looking quite flat.

Around 8 am the next morning, it’s time to shape the dough and set it to proof. Your dough should have risen significantly overnight, to at least twice its size, and should be really airy and puffy. To start, lightly dust a surface with white flour and gently turn your dough out onto it. The goal isn’t to incorporate more flour; it’s just to get the dough to stick as little as possible. This is the perfect time to get your proofing basket ready for action. Next to your dough, set up either a proofing basket with a basket cover or a medium bowl covered in a tea towel, with a thin layer of flour. You’ll want it close by so that you can easily transfer your dough without it spending too much time in your hands.
Now look at your dough and imagine it as a clock. Grab the top of it (around 11-1 on the clock), quickly stretch it up, lay it down 3/4 of the way over the rest of the dough, and press it lightly to create a seal. Then grab the dough around 2-4 o’clock and do the same—quickly stretching it up and over most of the rest of the dough. Repeat this on the opposite side, around 8-10 o’clock, and also on the bottom, around 5-7 o’clock. Phew! Okay, now you have a semi-shaped dough. There are only two more steps, I promise! As you’re looking at the dough, draw a line in your mind down the middle, top to bottom. Starting at the top left, use two hands to grab the outside of the dough and stretch it up and over to the middle line. Then repeat this same process on the top right, reflected across the line. Move down the dough, switching off from left to right, pulling the dough toward the center line. This is called a zipper fold. When this is done, grab the bottom of the dough with both hands and roll it up towards the top, like you’re rolling up a cinnamon roll or a sleeping bag. Voila! Now you have a fully shaped dough. Scoop it up and quickly transfer it to your proofing basket or bowl, seam side up.
Cover with a tea towel and let it proof at room temperature for 3 hours or so, until it’s puffy and alive but doesn’t deflate when poked.

Around 11am transfer the brooking basket to the refrigerator. It should be nearly fully proofed and putting it in the fridge for 30 mins to an hour will help it hold its shape after scoring. At this time start preheating your oven to 475 degrees Fahrenheit, with a dutch oven and lid inside. These should preheat for at least 30 mins.
After 30 mins take your proofing basket out of the fridge. Cut a piece of parchment paper to go over the top of your proofing basket, then hold it on top with one hand and flip the basket with the over, plopping the dough out into your hand on the parchment paper. Quickly put the dough down onto a flat surface where you can make your score. Using a sharp knife or razor blade, make some fun designs. I did a long crescent shaped score from top to bottom and a pumpkin on the larger side, just to be fun. There should be one big score to help your loaf expand, but other than that you can have a good time with it!

This next part is dangerous. PLEASE don’t burn yourself! Using thick, heat-proof gloves, take the Dutch oven out of the oven and remove the lid. Carefully lift the dough using the parchment paper and lower it into the Dutch oven. Your skin is more important than a cute loaf, so be as careful as you need to be! When that’s done, replace the lid of the Dutch oven and return the whole situation to the oven.
Set a timer for 30 mins. When that time is up, remove the lid of the Dutch oven and put it somewhere you’ll remember not to touch it while it cools. Set another timer for 20 mins.
When the 20 min timer goes off, your bread is done! Carefully remove the Dutch oven from the oven and place it somewhere to cool. As soon as you feel like you safely can, remove the loaf from the Dutch oven and place it on a cooling rack until fully cooled.


Pumpkin Brown Sugar Sourdough Recipe
Ingredients
| Levain/Starter | 10g sourdough starter 100g warm water 50g whole wheat flour 50g white flour |
| Autolyse | 314 g white flour 138 g whole wheat flour 316 g of warm water |
| Final dough | All of autolyse 9g kosher salt 104g levain |
| Pumpkin mixture | 135g organic pumpkin puree 42g brown sugar 1 tsp apply pie spice (you could use a mix of cinnamon, nutmeg, clove, or whatever sounds good) 48g toasted pumpkin seeds |
Instructions
Day 1
| Approx. Time | Instructions |
| 8am | Mix the levain using the sourdough starter, water, whole wheat flour, and white flour in the levain recipe, stirring until well combined. Cover and let rest at room temperature for 8–10 hours. |
| 5pm | Mix the white flour, wheat flour, and water for the autolyse. Combine until you don’t see any dry flour remaining in your container. The dough will be quite thick at this point so it make take a little muscle to incorporate all of the flour. Cover and let rest. |
| 5:30pm | Add the salt and 105g levain to your autolyse mixture. Fold in the salt and levain as much as possible, then use your thumb and forefinger to pinch of balls between the size of a golf ball and a baseball. When this is done, fold around the bowl again. Continue to pinch and fold until you no longer feel grains of salt between your fingers. Cover and let rest. |
| 6pm | Combine the pumpkin mixture. Place a few spoonfuls of the mixture on the dough, then fold the dough by grabbing the top of the dough and pulling it toward you, then grabbing the bottom of the dough and pulling it away from you, like a tri-fold pamphlet. Then turn the bowl 90 degrees and repeat the pamphlet fold, adding more pesto each time until it’s all incorporated. |
| 6:30pm-10pm | Fold the dough 4 more times using the method described in the previous step. Let the dough rest covered at room temperature for 12 hours or overnight. |
Day 2
| Approx. Time | Instructions |
| 8am | Prepare a proofing basket with a liner, or use a small mixing bowl covered with a kitchen towel, pushing the towel into the bowl to contact the inside. Coat the towel with flour where it sits over the opening of the bowl. Gently coax your dough out of the container onto a lightly floured surface. It should be quite puffy at this stage. |
| 8:05am | Shape the dough by folding it like an envelope. Start by pulling the top towards you, then pull the right side up and over to the left and the left side up and over to the right. Lastly, pull the bottom of the dough over everything else towards the top. Now your bread is lightly shaped. Next, grab the left side of the dough with your left hand and the right side of the dough with your right hand. Pull them together to create a seam in the middle of the bread running top to bottom. To make a tight ball grab the bottom of your dough with both hands and roll it up towards the top like a sleeping bag. Pinch the seams together where needed. |
| 8:10am | Transfer the shaped dough to the proofing basket or flour-coated bowl seam-side up. Cover with another kitchen towel and let rest at room temperature for around 3 hours. |
| 11am | Transfer your proofing basket to the refrigerator to firm up so it’s easier to score. In the meantime, place a covered dutch oven in the oven and preheat the oven to 475 degrees F. If you don’t have a dutch oven you can you use oven safe dish with a cover. If you don’t have that you can use a baking sheet, but you may not get the crispy crust you’re expecting. |
| 11:30am | Lay out a piece of parchment paper on a surface. Gently flip your dough out of the bowl onto the parchment paper. Cut a crescent shape into the dough from the top all the way to the bottom, and add any other fun decorations you’re feeling. Remove your dutch oven from the oven, remove the lid, and carefully lower your dough inside. Replace the lid and place the whole thing in the oven. Bake covered for 30 mins. |
| 12pm | Take the dutch oven out of the oven, remove the lid, and then place the bowl of the dutch oven back in the oven for another 20 mins. |
| 12:20pm | Remove your bread from the oven and transfer it immediately to a drying rack using a spatula or whatever you have available. Let cool completely before slicing! |
