Sometimes you have a hankering to make bread but you don’t want to make plain regular bread because it’s boring so instead you open your pantry and you stare inside until something speaks to you. Maybe I should clarify… regular bread is obviously delicious, but when someone asks me what kind of bread I’m making and I have to say “uhhh… plain?” I die a little bit inside. Sometimes I add extra words just to make it sound more interesting, like “80% hydration wild fermented overnight boule”. That sounds amazing, right? Feel free to use it.
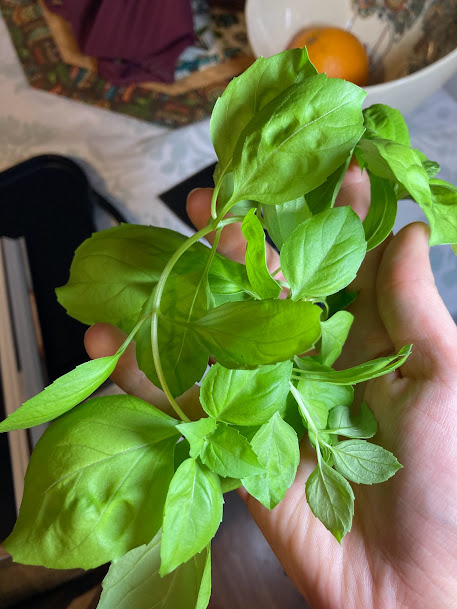
But back to the pantry. This time I wanted a little extra zing, so I stared into the pantry and what I saw after eating a few snacks I’d forgotten about was a little jar of tomato pesto. Bingo! And then I started thinking about pesto and I remembered that I have a basil plant so I could add a little bit of that too just for funsies. Yum, right?
Quick reminder: From the moment you start thinking to yourself, “oh man I’m gonna make bread,” you have to wait about 36 hours until you’re actually eating bread. Plan accordingly!
Here’s my usual schedule:
Day 1 ~ 7am: Build your levain
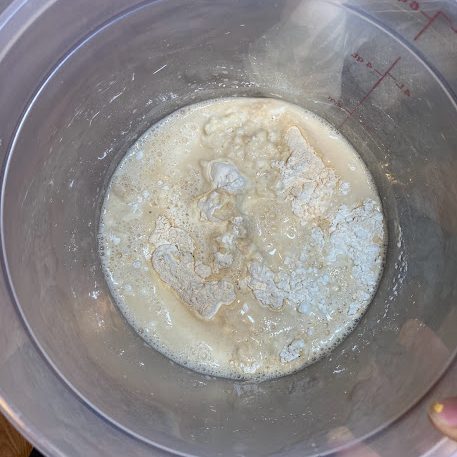
Combine 25g active sourdough starter (if you don’t know what this means, see my post here for more info!), 125g warm water, 100g white flour, and 25g whole wheat flour. Mix until well combined. Then cover this slurry and set it aside at room temperature for the next 8-12 hours.

Day 1 ~ 4pm: Mix the autolyse
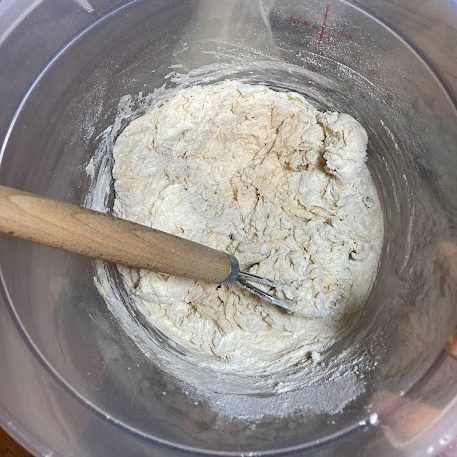
Autolyse is just a fancy way of saying mix the flour and water together and let it hang out. Mix together 390g of white flour, 65g of whole wheat flour, and 275g of water. You’re going to start mixing and think to yourself that there’s not enough water for all this flour. Keep mixing! It’ll be a little tough but it’ll all come together after a few minutes. You want to stop when there’s no dry flour remaining in the bowl. It doesn’t have to be smooth and silky but you don’t want it to be dry and scraggly. When this is done go ahead and cover your container and let it rest for at least 30 minutes.
Day 1 ~ 4:30pm: Mix the dough
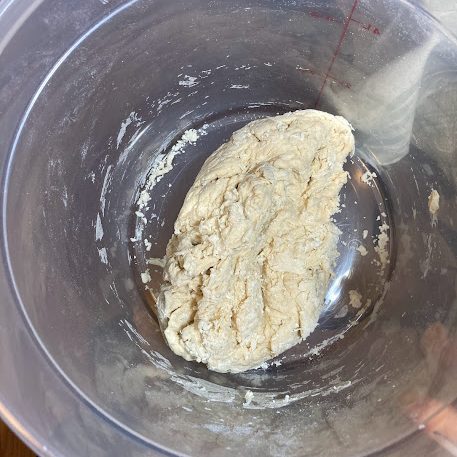
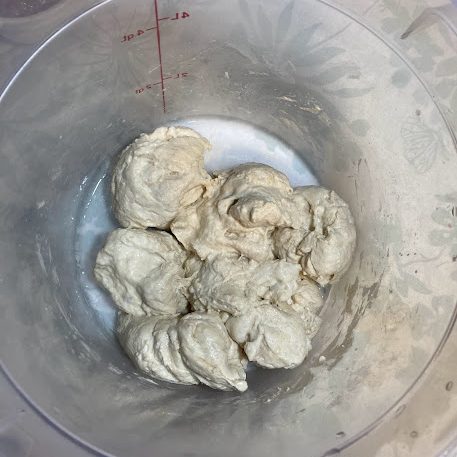
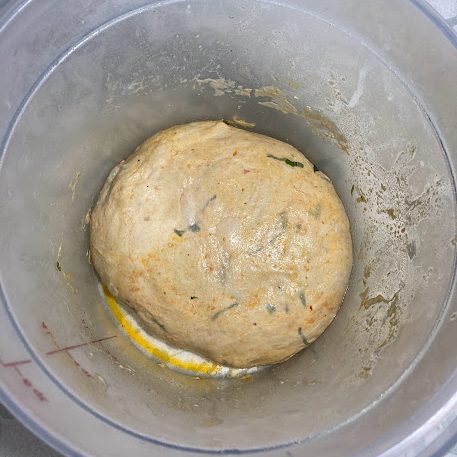
Now it’s time to mix your dough! Flatten out the autolyse that your prepared 30 minutes ago in the bowl. On top of that sprinkle 10g sea salt, 25g water, and 105g of your levain. Then go around the outside of your disk and pull the edges up and over the salt and levain your added on top to enclose it inside. Then… and this is gonna sound super weird, but it’s worth it… use your thumb and forefinger to pinch off tennis ball sized pieces of dough. Then once again go around the outside of the bowl and pull and stretch the outside of the dough up and over the top of the pieces until it’s come together again. Repeat this pinch-and-stretch technique 1-2 more times or until you can’t feel any grains of salt anymore. Then cover and let rest.
Day 1 ~ 5pm: Fold in the pesto
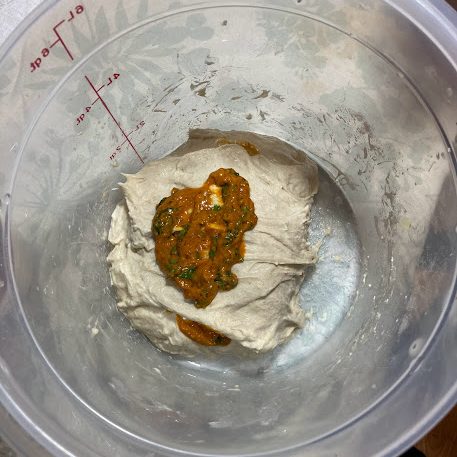
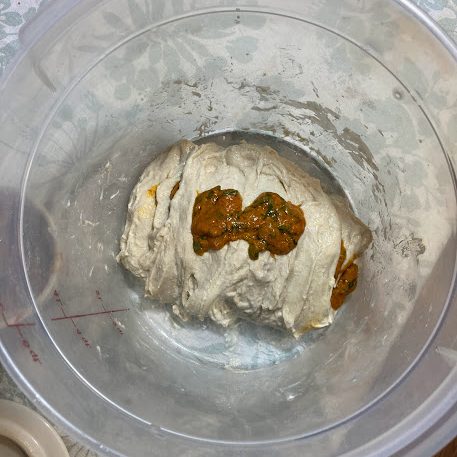
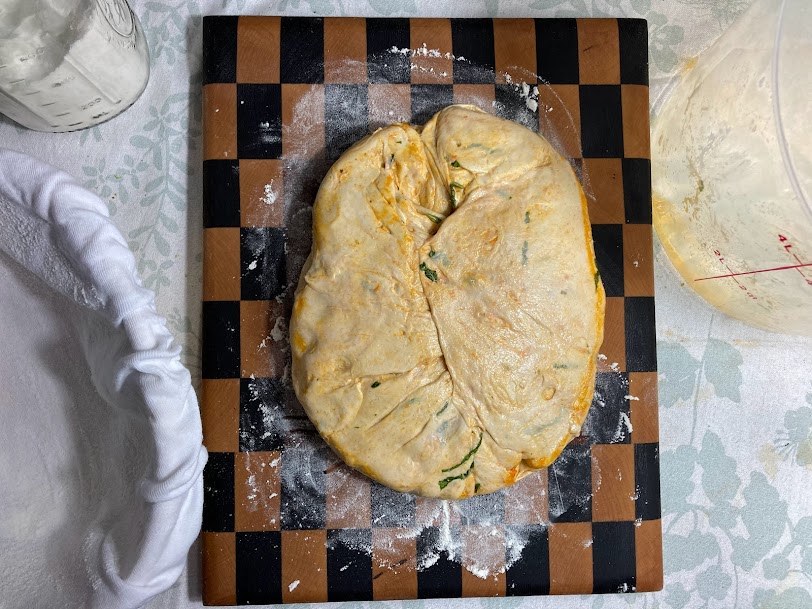
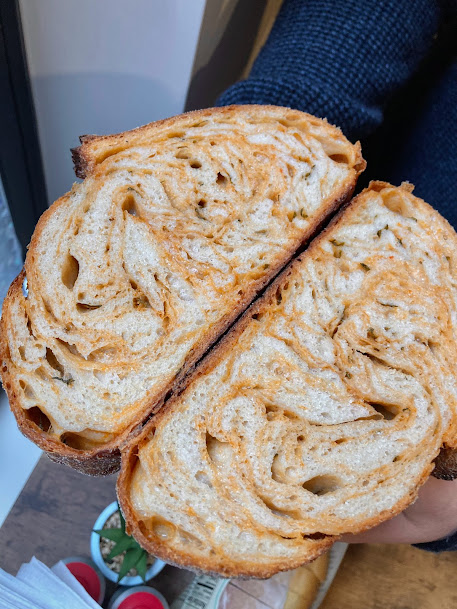
Approximately 30 minutes after mixing the dough you’re going the add in the final and most important ingredients: the mix-ins! In this case I combined 5g of olive oil with 55g tomato pesto. Then I cut a handful of basil off of my basil plant and chopped it finely before adding it to the tomato pesto mixture. Now comes the fun part.
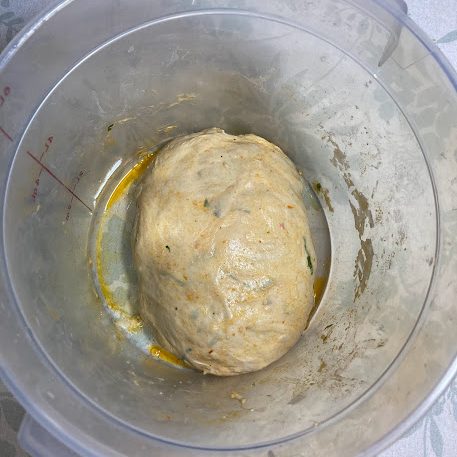
- Put a few spoonfuls of the pesto on top of your dough.
- Grab the top of the dough and pull and stretch it down over the pesto.
- Grab the bottom of the dough and pull and stretch it over the dough to the top.
- Spread a few more spoonfuls of pesto on the top of the dough.
- Rotate your bowl 90 degrees and then repeat steps 2-4 until you’ve run out of pesto and it’s fully enclosed in your bread.
Cover and let rest.


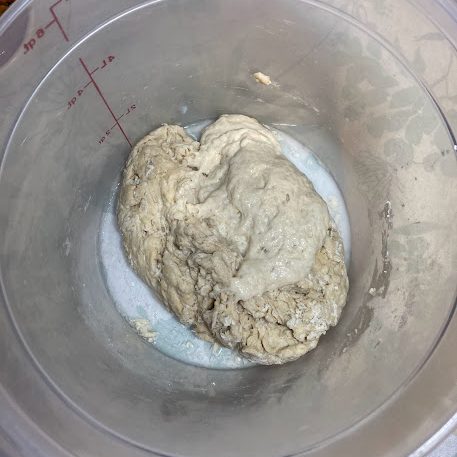
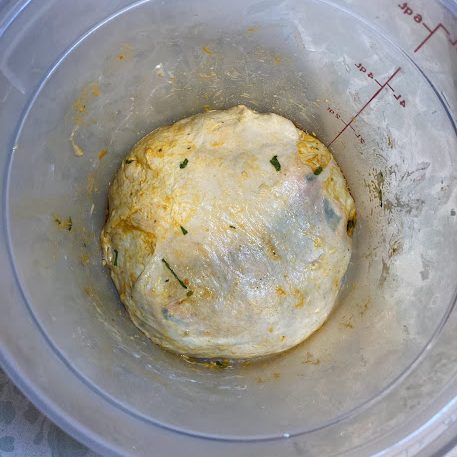
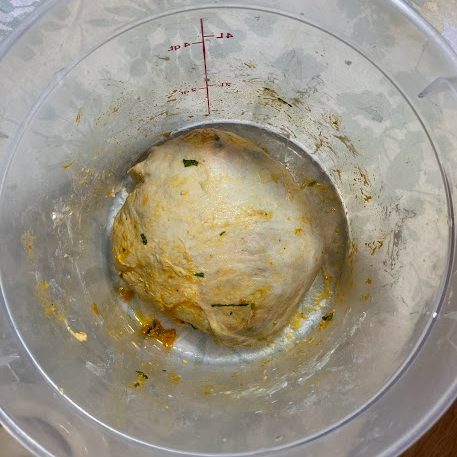
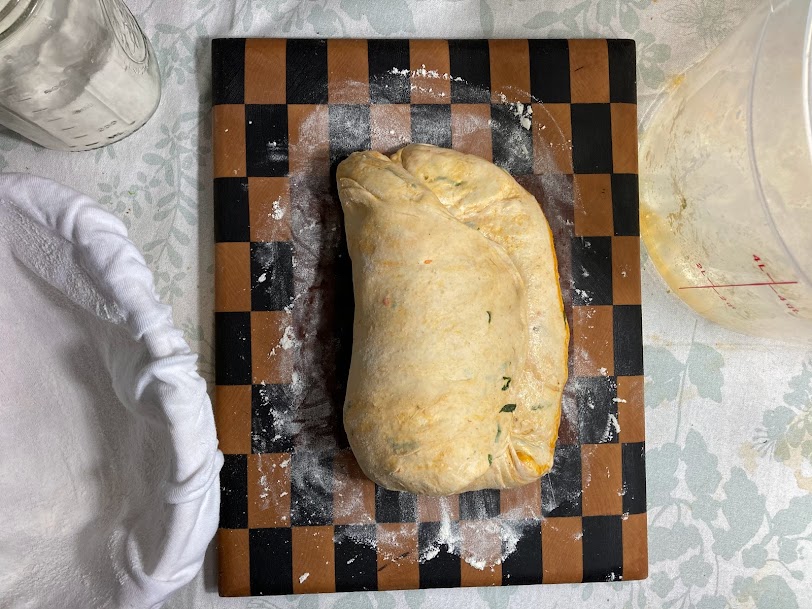
Day 1 ~ 5:30-7pm: Fold the dough
Starting about 30 minutes after you finished mixing the dough, complete your first fold:
- Grab the top of the dough and pull and stretch it down over the rest of the dough.
- Grab the bottom of the dough and pull and stretch it over the dough to the top.
- Rotate your bowl 90 degrees and then repeat steps 2-4 one time.
In about 30 minutes complete another fold using the steps above. Then 30 minutes after that complete a third and final fold. After this cover your dough and put it in the refrigerator for the next 12 hours or overnight.


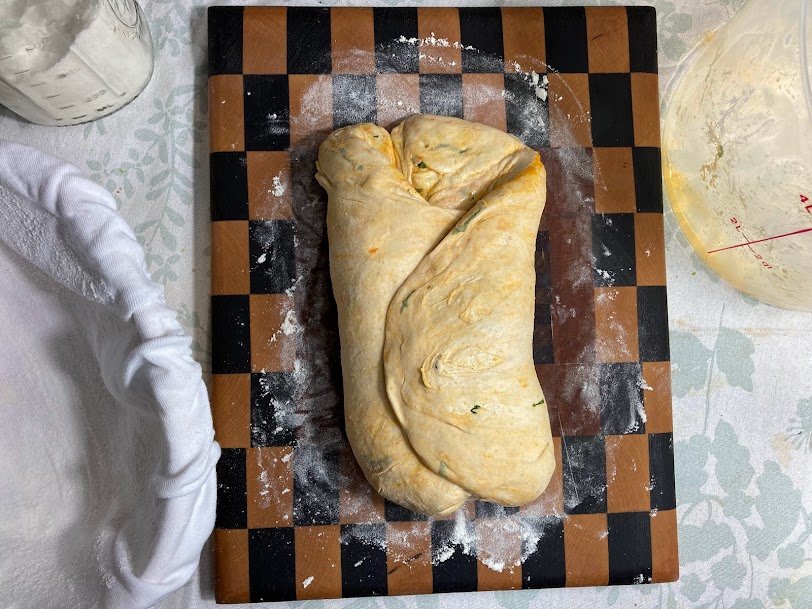
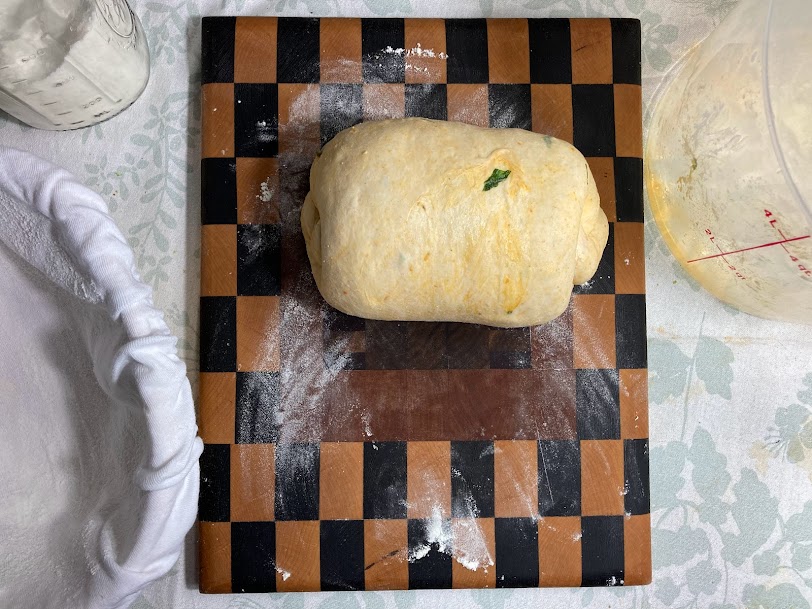
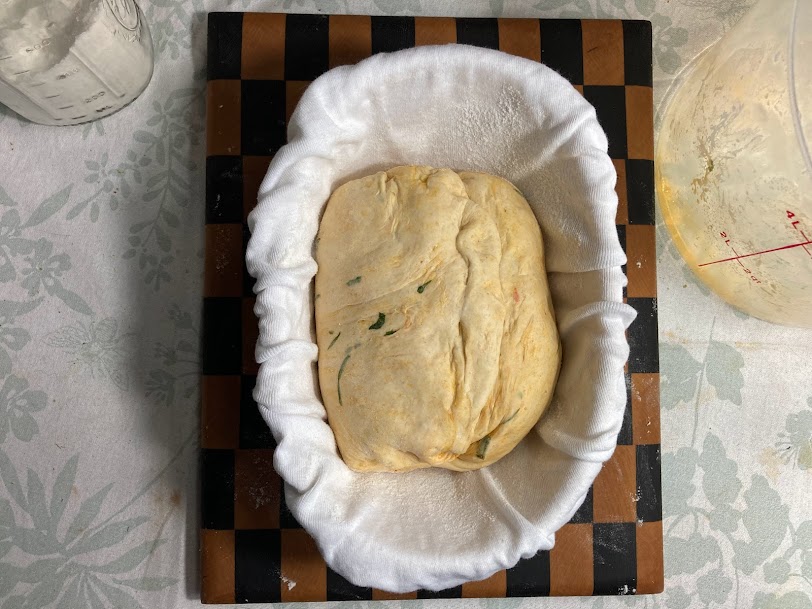
Day 2 ~ 7am: Shape the dough
Take the dough out of the fridge and dump it out on a lightly floured surface. Allow the dough to spread out naturally but don’t forcefully stretch it. Start by preparing a small bowl with a floured towel inside. Then shape your dough:
- Grab the bottom of the dough and fold it over to around the middle of the dough.
- Grab the left side of the dough and fold it over to the right.
- Grab the right side of the dough and fold it over to the left.
- Grab the top of the dough and fold it down to around the middle of the dough.
- Grab the bottom of the dough and slowly roll it upwards, building tension on the outside of the dough as you go.
- Finally, place the dough seam-side up in your floured bowl.
Cover the bowl and let it rest.


Day 2 ~ 10am: Preheat the oven
Preheat your oven to 450 degrees. Make sure your oven rack is on the lowest level and when you turn on your oven put your baking container inside so it can preheat as well. Ideally this is a dutch oven with a lid, but any covered baking dish will do.
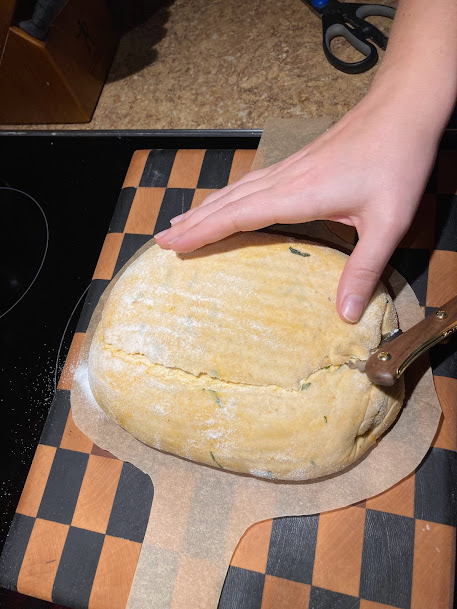
Day 2 ~ 10:30am: Prep and score your bread
Tear off a reasonable sized piece of parchment paper and lay it out on a table or countertop. You can choose to not use parchment paper if you’re feeling super confident, but in my experience it’s 100% worth it to just use the paper. Gently turn your dough out onto the parchment paper and trim the paper as needed.
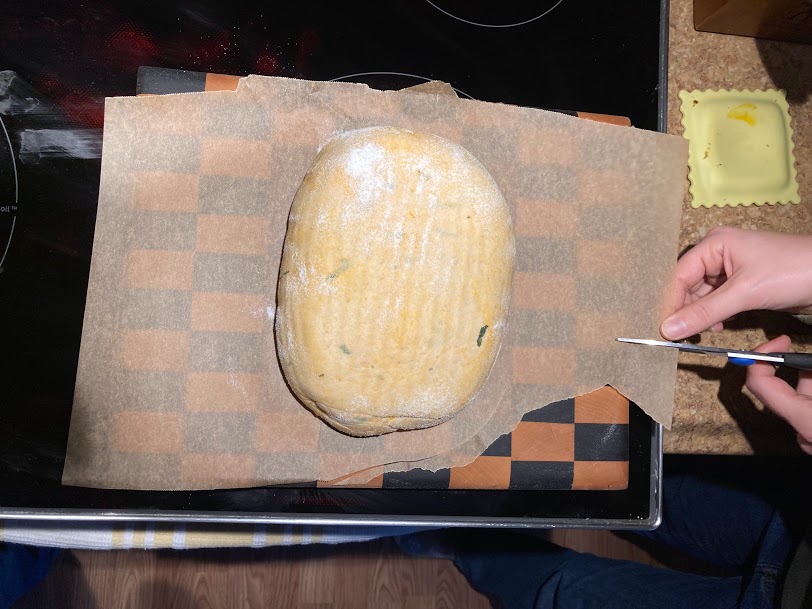
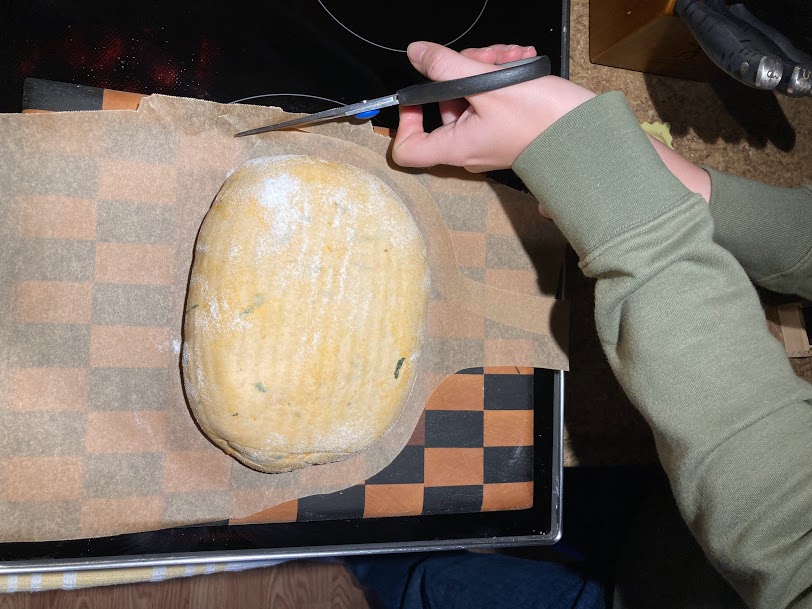

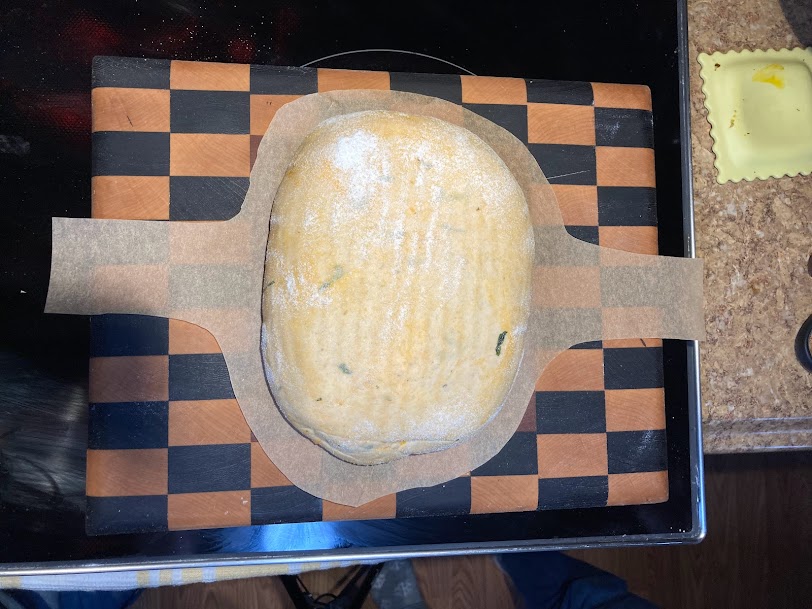
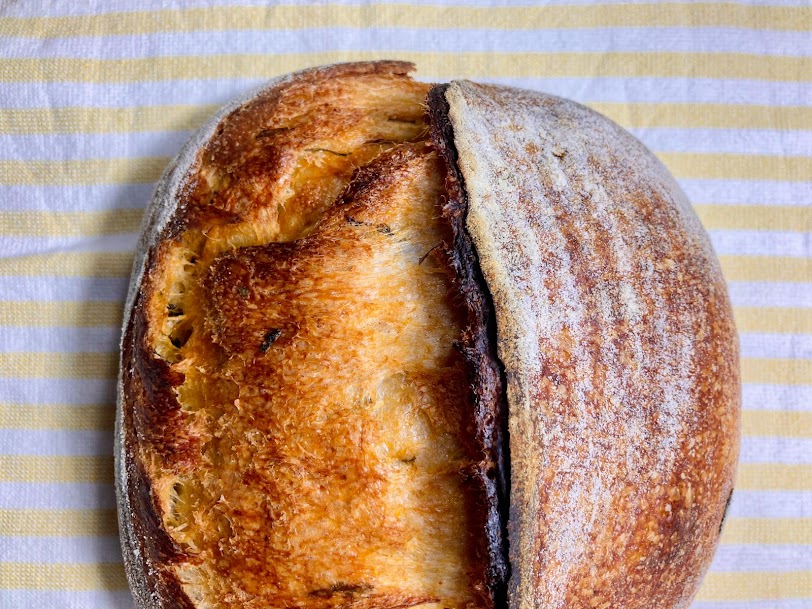
Next, score the dough. First, grab a fresh clean razor blade or your sharpest knife. Then take a deep breath, because there a 70% chance that what’s going to happen next is going to be super frustrating. Starting at the top of the loaf and ending at the bottom of the loaf cut a crescent-shaped score down the loaf. Don’t feel like you have to do it fast. Take your time. Then grab the parchment paper, lower your bread super gently into your VERY HOT dutch oven, replace the lid, and return it to the oven.

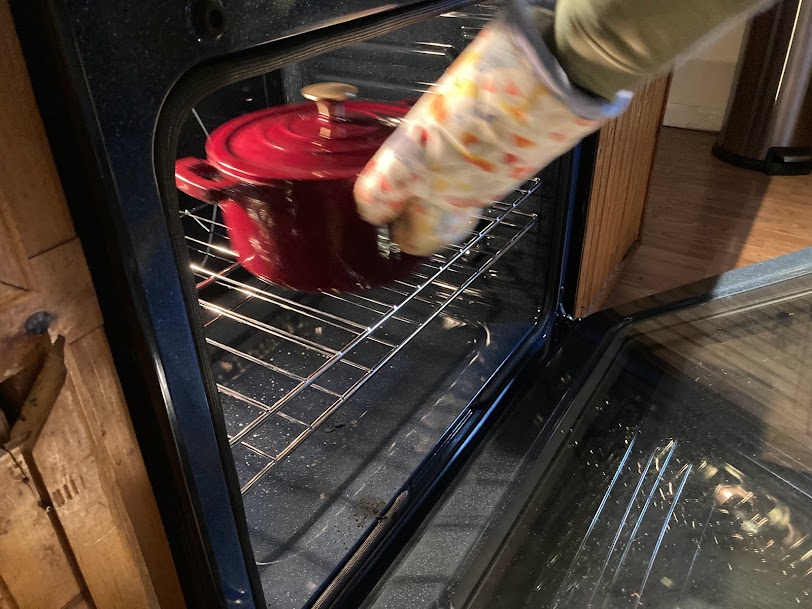
Day 2 ~ 11am: Uncover your bread
After about 30 minutes of baking remove the lid to your container and continue baking uncovered for another 20 minutes.
Day 2 ~ 11:20am: Finish your bread!
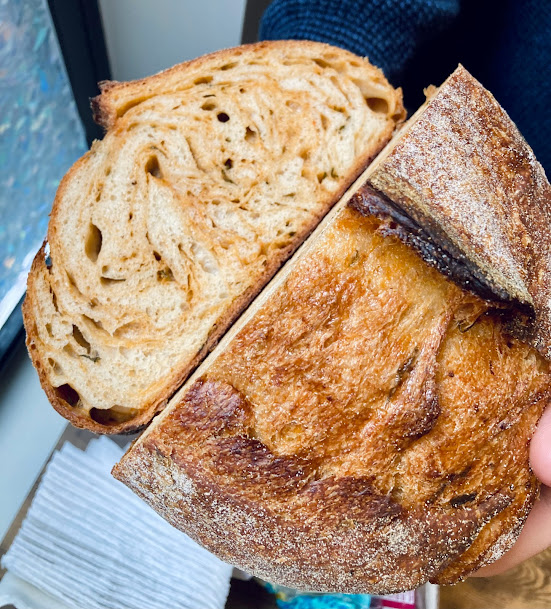
Carefully remove the bread from the oven. As soon as your safely can use your hands or a spatula to remove the bread from the container and place it on a cooling rack. This will help keep the crust from getting soggy.

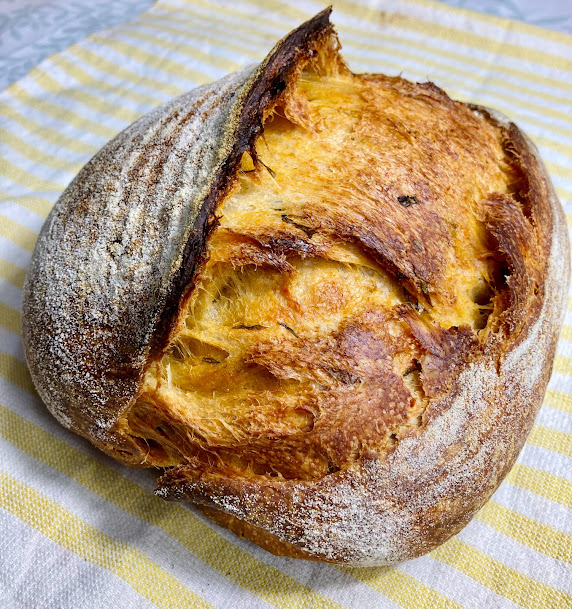
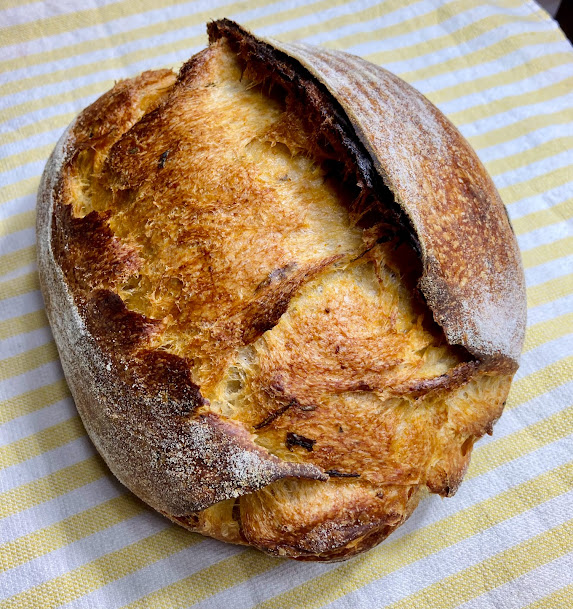
Allow at least 3 hours for the bread to cool, then slice and enjoy!
Tomato Pesto Sourdough Recipe
Ingredients
Levain
- 25g sourdough starter
- 125g warm water
- 25g whole wheat flour
- 100g white flour
Autolyse
- 390g white flour
- 65g whole wheat flour
- 275g water
Final Bread
- All of autolyse
- 25g warm water
- 2 tsp sea salt
- 105g levain
Pesto mixture
- 5g olive oil
- 55g tomato pesto
- ~1/4 cup loosely packed chopped fresh basil
Instructions
Day 1
- Around 7am: Mix the levain using the sourdough starter, water, whole wheat flour, and white flour in the levain recipe, stirring until well combined. Cover and let rest at room temperature for 8-12 hours.
- Around 4pm: Mix the white flour, wheat flour, and water for the autolyse. Combine until you don’t see any dry flour remaining in your container. The dough will be quite thick at this point so it make take a little muscle to incorporate all of the flour. Cover and let rest.
- Around 4:30pm: Add the salt and 105g levain to your autolyse mixture. Fold in the salt and levain as much as possible, then use your thumb and forefinger to pinch of balls between the size of a golf ball and a baseball. When this is done, fold around the bowl again. Continue to pinch and fold until you no longer feel grains of salt between your fingers. Cover and let rest.
- Around 5pm: Mix the pesto mixture. Place a few spoonfuls of the pesto on the dough, then fold the dough by grabbing the top of the dough and pulling it toward you then grabbing the bottom of the dough and pulling it away from you, like a tri-fold pamphlet. Then turn the bowl 90 degrees and repeat the pamphlet fold, adding more pesto each time until it’s all incorporated.
- Between 5:30 and 7pm: Fold the dough 2 more times using the method described in the previous step.
- Let the dough rest covered in the refrigerator for 12 hours or overnight.
Day 2
- Around 7am: Prepare a small mixing bowl by covering it with a kitchen town and pushing the towel into the bowl to contact the inside. Coat the towel with flour where it sits over the opening of the bowl. Gently coax your dough out of the container onto a lightly floured cutting board. It should be quite puffy at this stage.
- Around 7:05am: Shape the dough by folding it like an envelope. Start by pulling the bottom away from you, then pull the left side up and over to the right and the right side up and over to the left. Lastly, pull the top of the dough over everything else towards the bottom. Now your bread is lightly shaped. Next, grab the left side of the dough with your left hand and the right side of the dough with your right hand. Pull them together to create a seam in the middle of the bread running vertically. To make a tight ball grab the bottom of your dough with both hands and roll it up towards the top like a yoga mat. Pinch the seams together where needed.
- Around 7:10am: Transfer the shaped dough to the flour-coated bowl seam-side up. Cover with another kitchen towel and let rest for around 4 hours.
- Around 10am: Place a covered dutch oven in the oven and preheat the oven to 450 degrees F. If you don’t have a dutch oven you can you use oven safe dish with a cover. If you don’t have that you can use a baking sheet, but you may not get the crispy crust you’re expecting.
- Around 10:30am: Lay out a piece of parchment paper on a surface. Gently flip your dough out of the bowl onto the parchment paper and cut a crescent shape into the dough from the top all the way to the bottom. Remove your dutch oven from the oven, remove the lid, and carefully lower your dough inside. Replace the lid and place the whole thing in the oven. Bake covered for 30 mins.
- Around 11am: Take the dutch oven out of the oven, remove the lid, and place it back in the oven for another 20 mins.
- Around 11:20am: Remove your bread from the oven and transfer it immediately to a drying rack using a spatula or whatever you have available. Let cool completely before slicing!
